SFTP Gateway 3.x Minor Upgrade Guide
TLDR - Quick Summary
What: Upgrade between SFTP Gateway 3.x versions using export/import
Export: Settings > Export downloads
sftpgw-backup-*.yamlImport: Upload YAML to new instance via Settings page
Cutover: Move Elastic IP to new instance, or update DNS hostname
Overview
When upgrading to a more recent version of SFTP Gateway 3.x you have two options. You can run the in-place upgrade script, or you can manually migrate your configurations to a new stack.
This article goes over the procedure for manually migrating your users and settings to a new stack of SFTP Gateway.
Export
First, you need to export your users and settings from the older instance.
In the web admin portal, go to Settings.
Then, click Export.
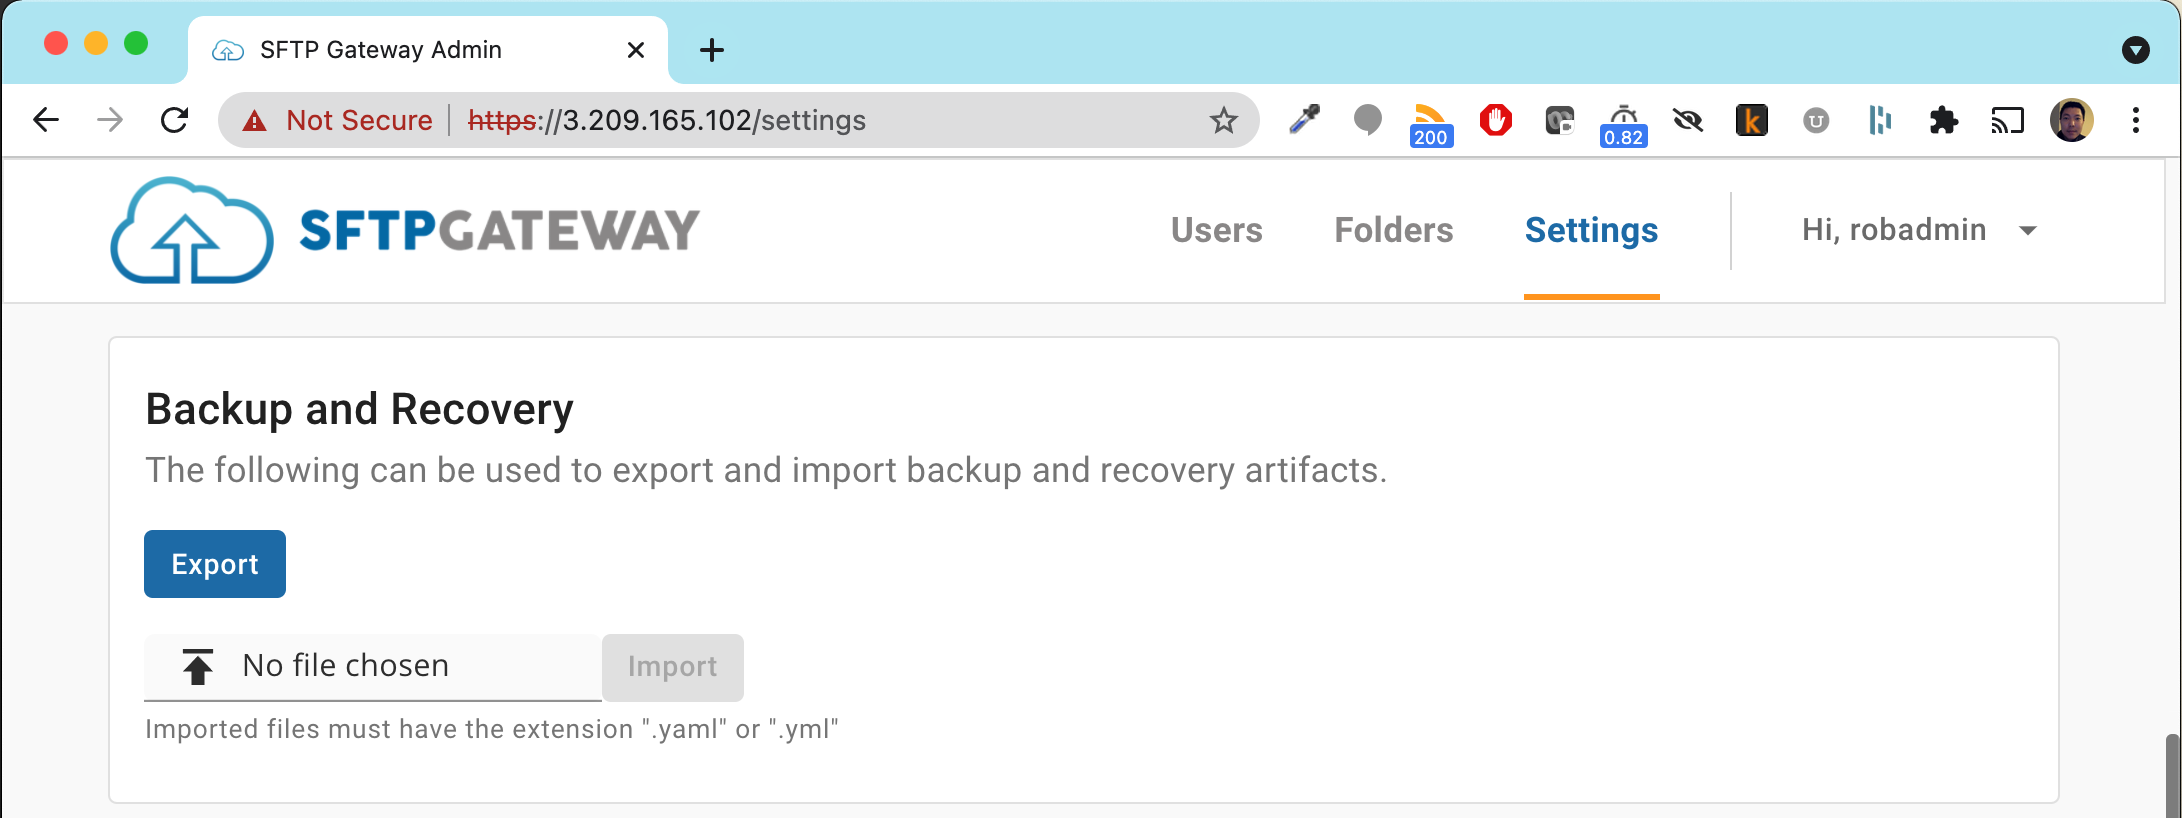
Fig-1
This will download a file named sftpgw-backup-yyyy-mm-dd-hh-mm-ss.yaml.
Import
Next, import your users and settings into the new instance.
In the web admin portal, go to Settings.
Then, click the upload icon. This will open a dialogue for finding your file.
Click Import.
You should see some log output.
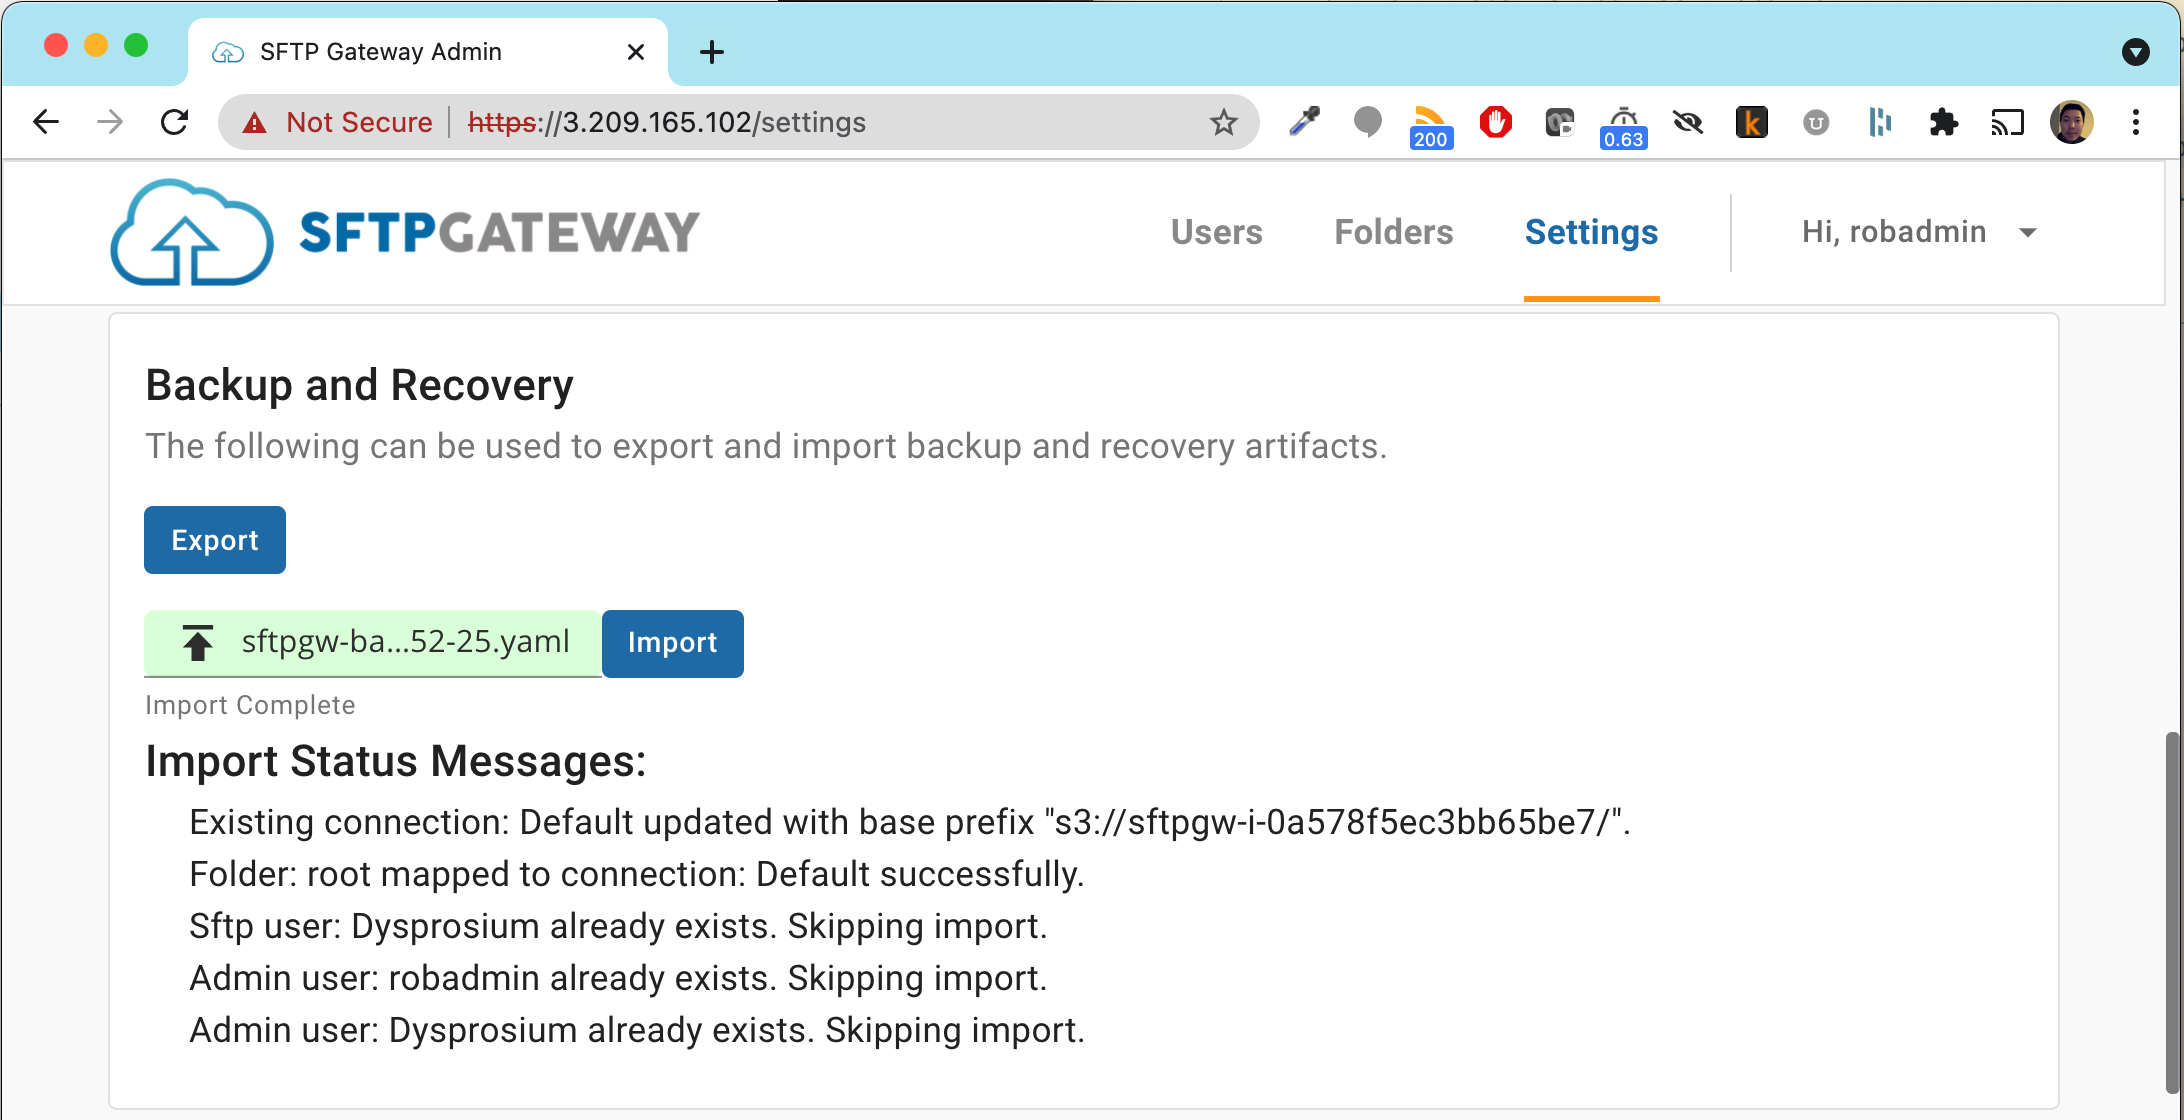
Fig-2
Cutover procedures
When migrating to the new server, you will perform a final cutover. There are two approaches for this.
First, you can take the Elastic IP from the old instance, and associate it with the new one. This is the fastest and simplest way to perform a cutover. Also, you can quickly revert if something goes wrong.
Second, if your SFTP users are connecting via hostname, you can make a DNS change. DNS changes take a while to propagate through the internet, so consider reducing the TTL in the days leading up to the cutover if possible.