First Launch Experience
Overview
The first time you launch StorageLink, you will go through a one-time configuration. This is where you sign in with your admin user and configure a default cloud storage location.
These steps are performed in the web interface, so there is no need to SSH into the server.
Open the web interface
Open a web browser and navigate to the public IP address of the instance.
- AWS
- Azure
If you used CloudFormation, go to the Outputs tab and copy the IP address value of the Hostname key.
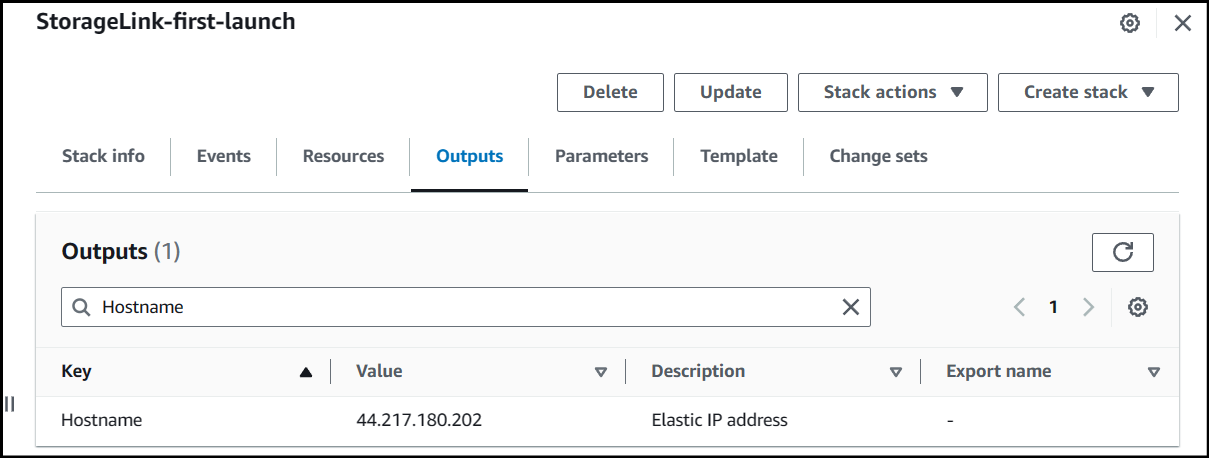
The public IP can be found on your VM details screen

You can find the public IP under the Network Interface / External IP of the VM.

The first time you visit the site, you will see a warning message:
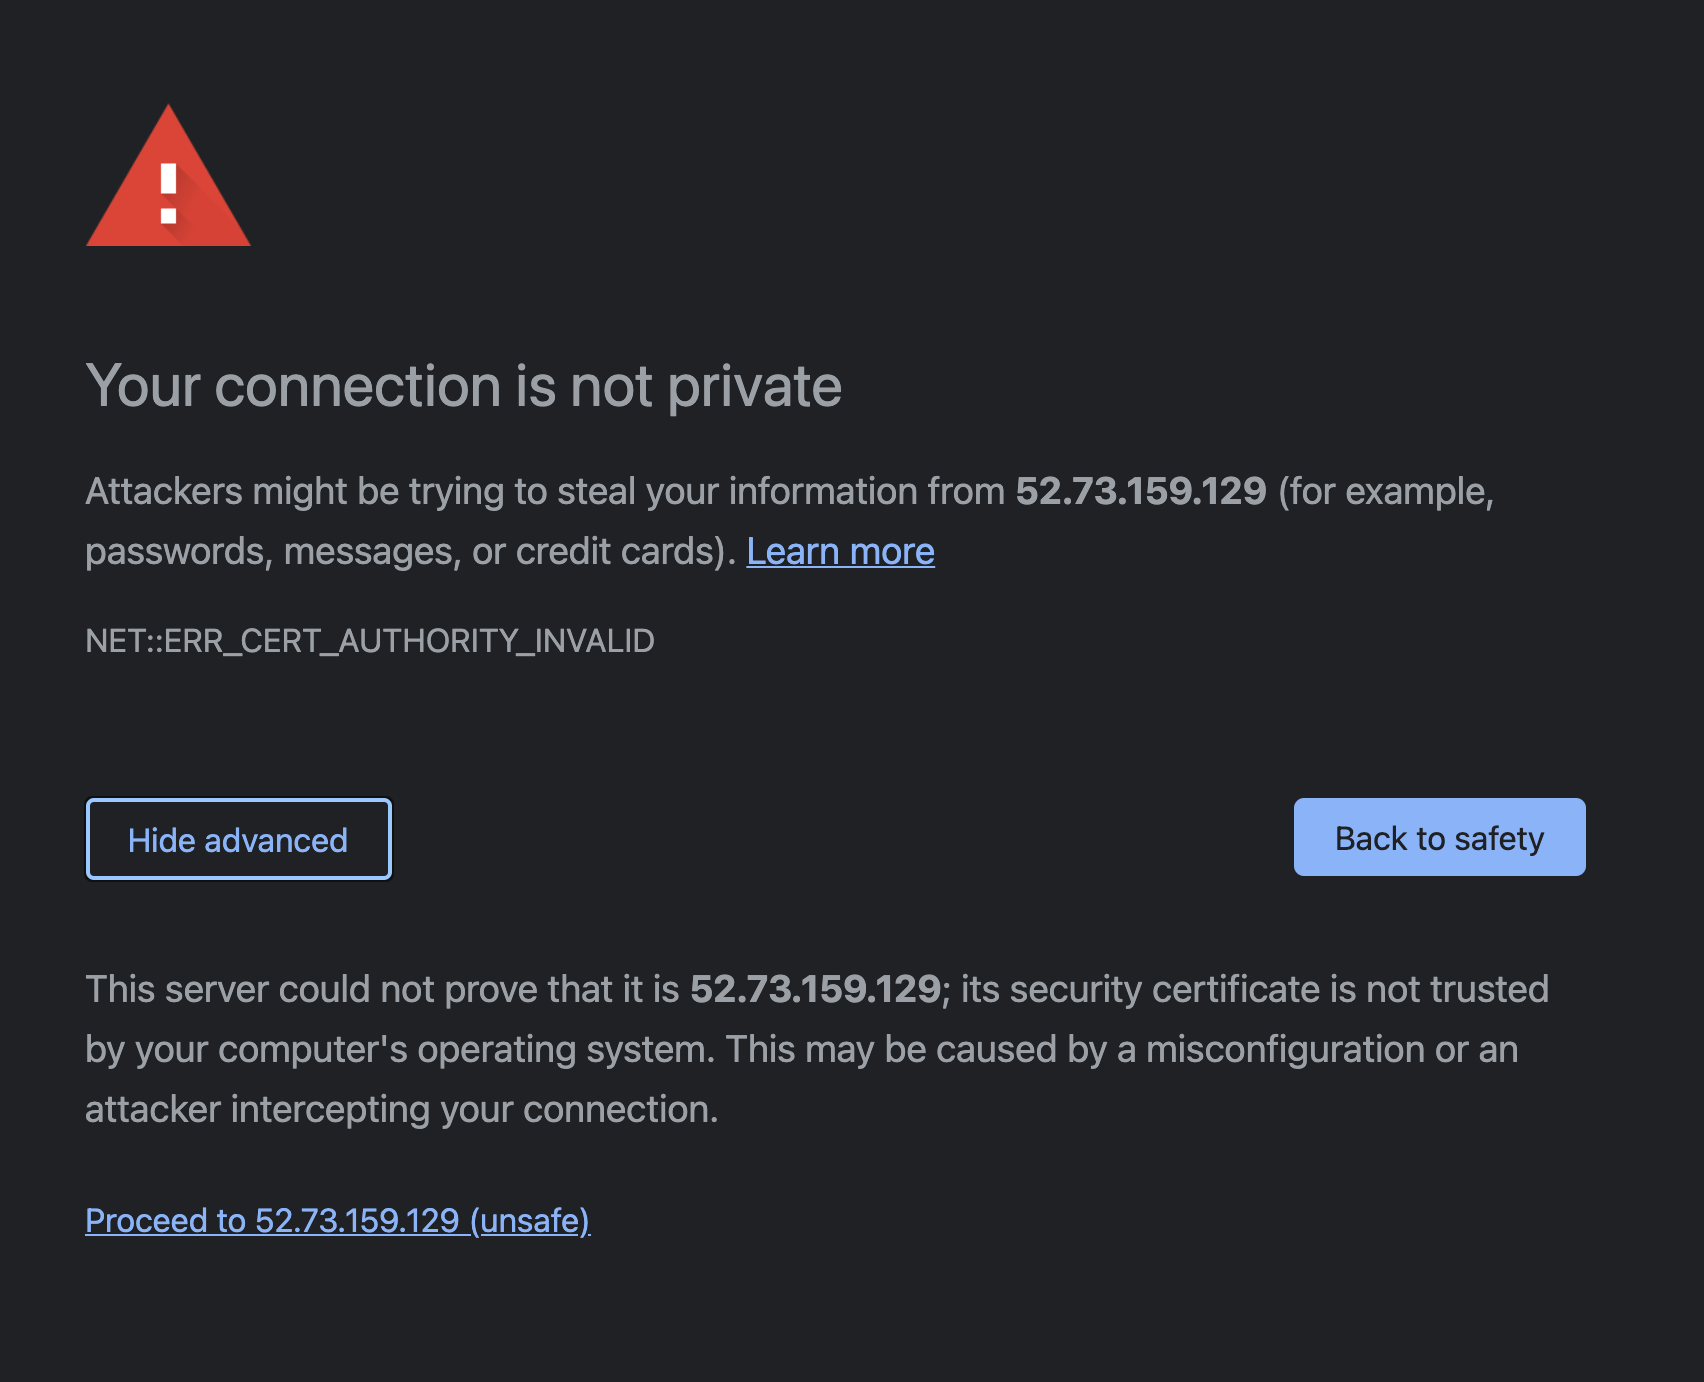
The web interface uses SSL to protect network traffic. But the SSL certificate is self-signed, so you will need to bypass this warning message.
Click Advanced to reveal the rest of the page & then click Proceed to IP-address (unsafe).
Create admin account & Sign in
After you bypass the SSL warning, you will see a Welcome page.
- AWS
- Azure
In AWS, the Welcome page is skipped and you are brought directly to the sign in screen. The admin account is created using the username and password you provided during the CloudFormation deployment.
In this section, you will create an admin account.
Fill out the following fields:
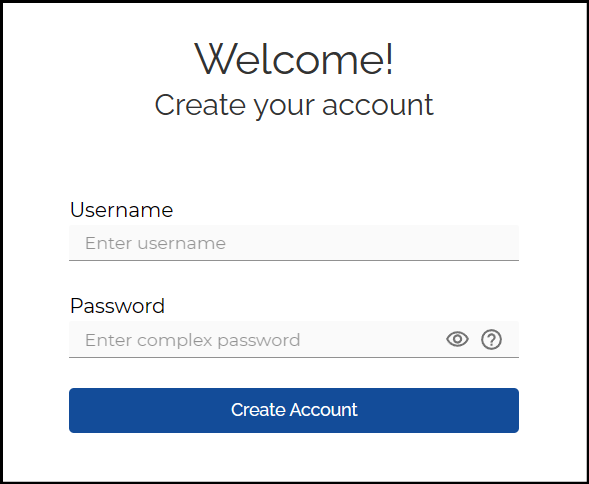
In this section, you will create an admin account.
Fill out the following fields:

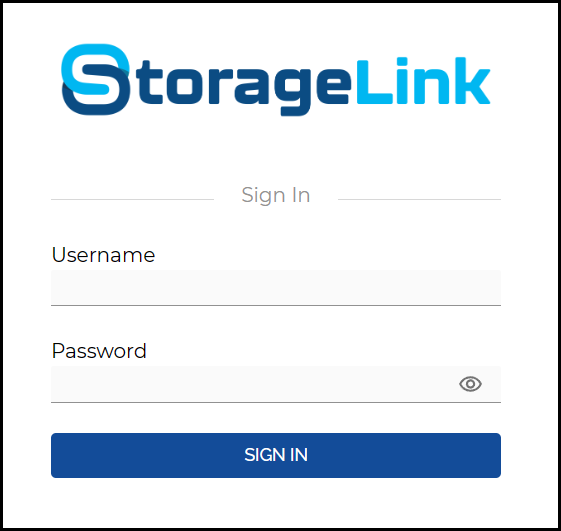
To sign in to the StorageLink Admin Interface, provide the username and password.
Configure default folder
This is where you will configure a default cloud storage location that will be associated with the root folder.
- AWS
- Azure
After signing in, you will be met with this view:
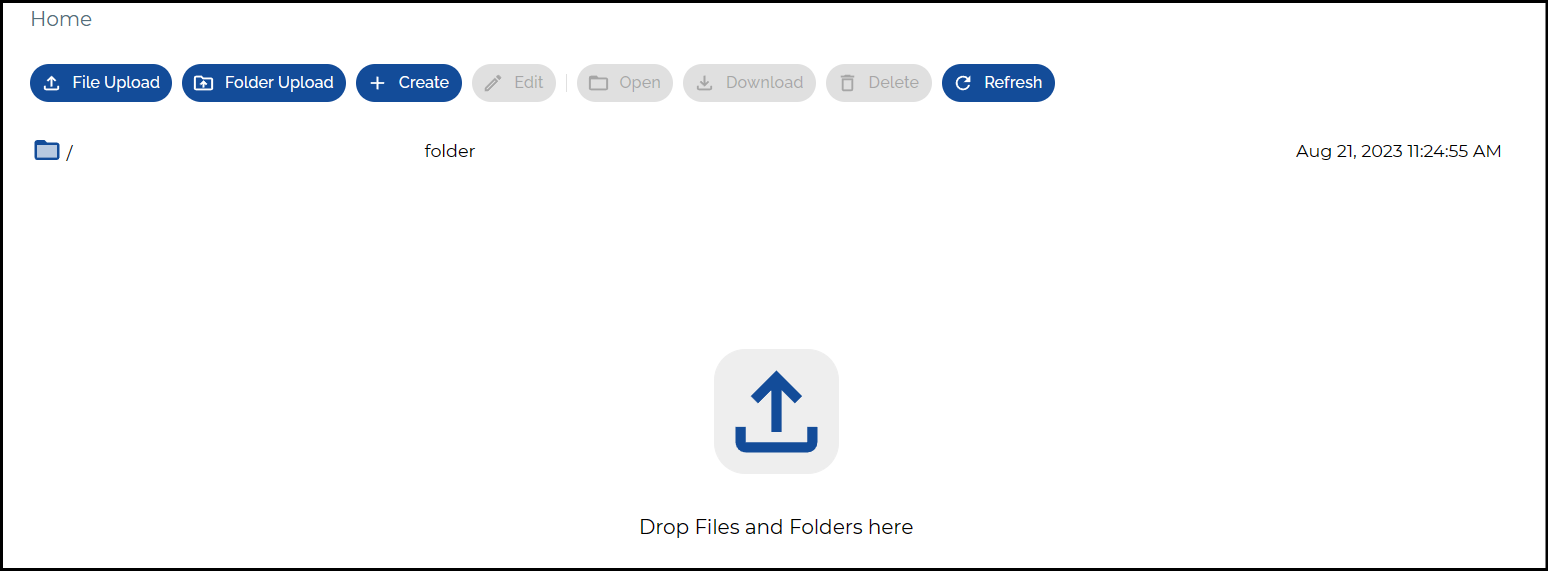
By default, our CloudFormation deployment will create an S3 bucket for you along with configuring the root folder to use this bucket. The naming convention for the bucket is:
swiftgw-i-[ec2_instance_id]
To change the folder to point to your own bucket, click on the / folder and select Edit.
Here, you can change the S3 URL to point to a different S3 bucket.
For more information about connecting to a different S3 bucket, check out this article.
After signing into the Admin Interface, you will see a pop-up message asking you to Configure Default Storage.

Default Storage is the Blob Storage Account & Container you will be connecting to and is also the root folder '/' of your filesystem.
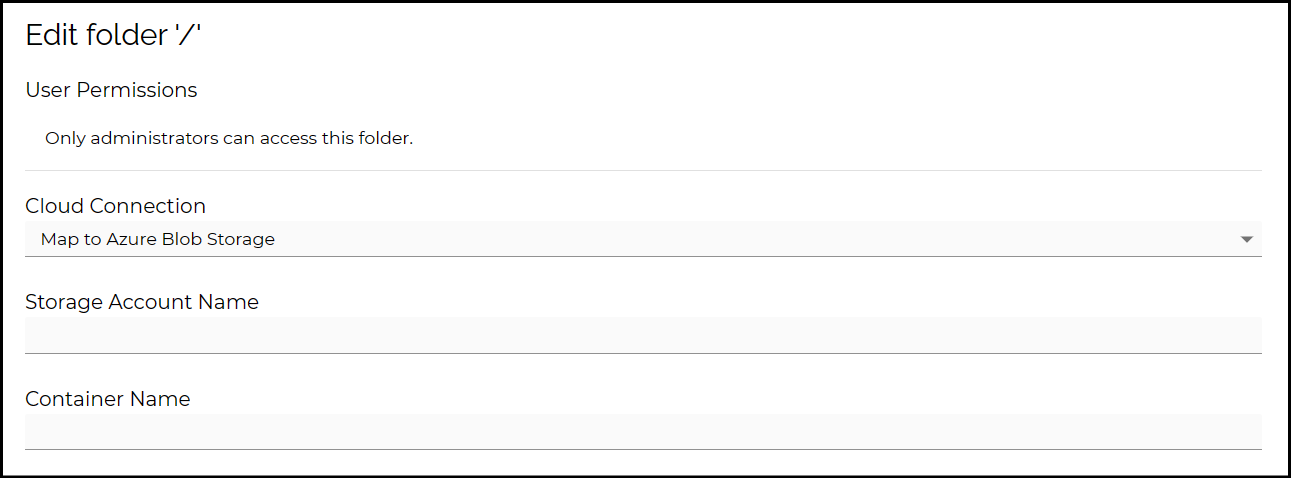
Fill out the Storage Account Name & Container Name fields and then change the Cloud Credentials to use
Create New Credentials. You can retrieve the Connection String from Storage Account ---> Access keys --->
Connection String in the Azure portal.
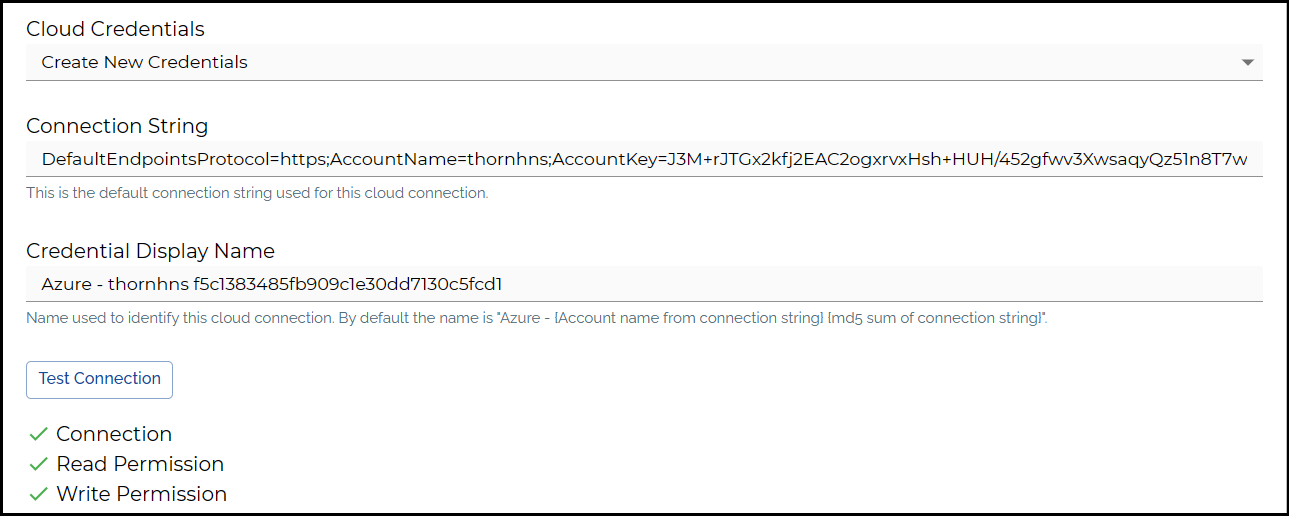
Once everything has been filled out, click on Test Connection. Ideally, this will return 3 green checkmarks. If not, review the information to make sure everything has been filled out correctly.
Click SAVE and you will then see a view of the folders & files within your container.
If your container is empty, you will see this view:

After signing into the Admin Interface, you will see a pop-up message asking you to Configure Default Storage.

Default Storage is the Google Cloud Storage Bucket you will be connecting to and is also the root folder '/' of your filesystem.
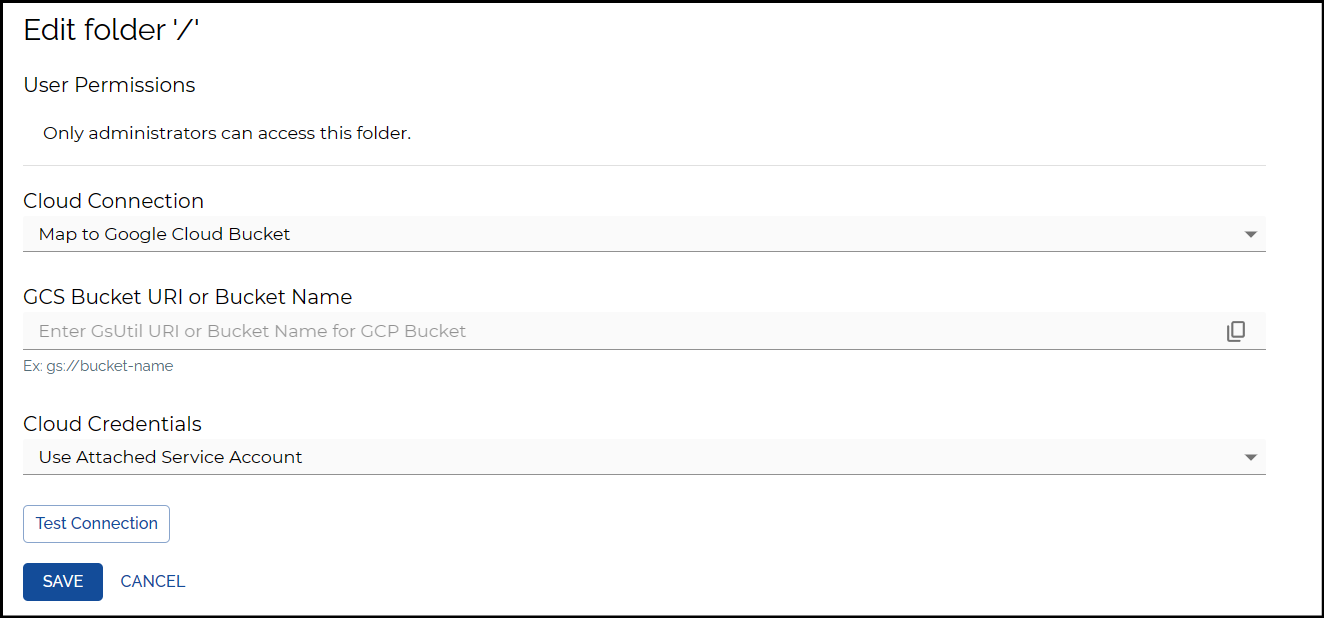
Fill out the Bucket Name, and include the filepath if you want to connect to a specific directory.
For the Cloud Credentials, you have the choice to use an Attatched Service Account or a Service Account JSON Key File.
For using an Attatched Service Account, check out our documentation for Setting up Instance Identity for StorageLink.
For using an Service Account JSON Key File, check out our documentation for Configuring a Service Account & JSON Key File.
