Create a Static IP Address
Overview
When you deploy StorageLink via the Google Cloud Marketplace, the IP address of the VM will be Ephemeral by default. This can cause some difficulties due to the IP address value changing after stopping and then starting the VM again.
This article goes over how to change your IP address to Static, so that your IP won't change.
Setting your IP Address to Static
First, in the google cloud console, navigate to the VPC network service.
From the left sidebar menu, navigate to the IP addresses section.

Here you will see a list of all your IP addresses. Change tabs so you're under EXTERNAL IP ADDRESSES.
You can find the IP address your VM is using by finding the name of your instance under the In use by column.
Once you have located the ephemeral IP address your VM is using, scroll to the right until you see 3 horizontal dots. Click on these dots and you will see Promote to static IP address.
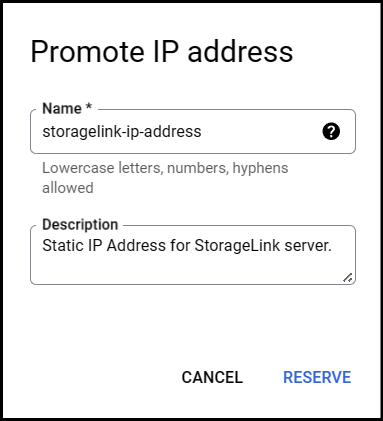
Click on Promote to static IP address and you will be brought to a new modal window.
Configure a name and a description for your static IP address, then click RESERVE once again.

You now have a static IP address associated with your VM.
