Finding Files in Cloud Storage
Purpose: Locate files uploaded through StorageLink in your cloud storage provider's console.
Steps:
- In StorageLink Web Admin, edit the folder to find the bucket/container name and path
- Navigate to your cloud provider's storage console (S3, Azure Storage, or Cloud Storage)
- Browse to the bucket/container to view your files
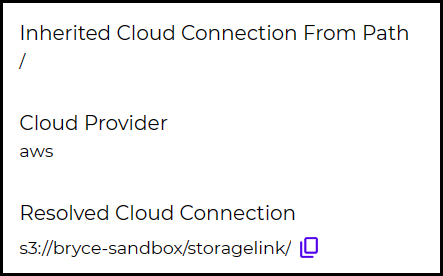
Note: Folders can have direct cloud connections or inherit from parent folders — check "Resolved Cloud Connection" for the actual path
Product: StorageLink by Thorn Technologies — cloud storage gateway for secure file sharing
Overview
This article goes over how to find the files and folders you've uploaded to Cloud Storage (AWS S3, Azure Blob Storage, Google Cloud Storage).
- AWS
- Azure
Step 1
In the Web Admin Interface, edit the folder you're uploading data to, and you will see one of two views. The first view is when your folder is pointing directly to an S3 Bucket.

The second view is when the folder is inheriting it's connection, meaning it is a subdirectory to a folder that points directly to an S3 Bucket.
After determining the S3 Bucket and path, the next step would be navigating to the bucket in S3.
Step 2
When you are in the AWS console, use the top search bar and look for S3.
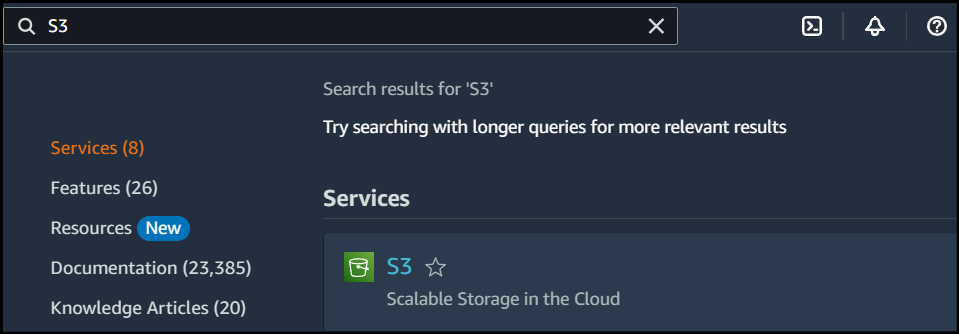
Click into the S3 service and search for your bucket name.
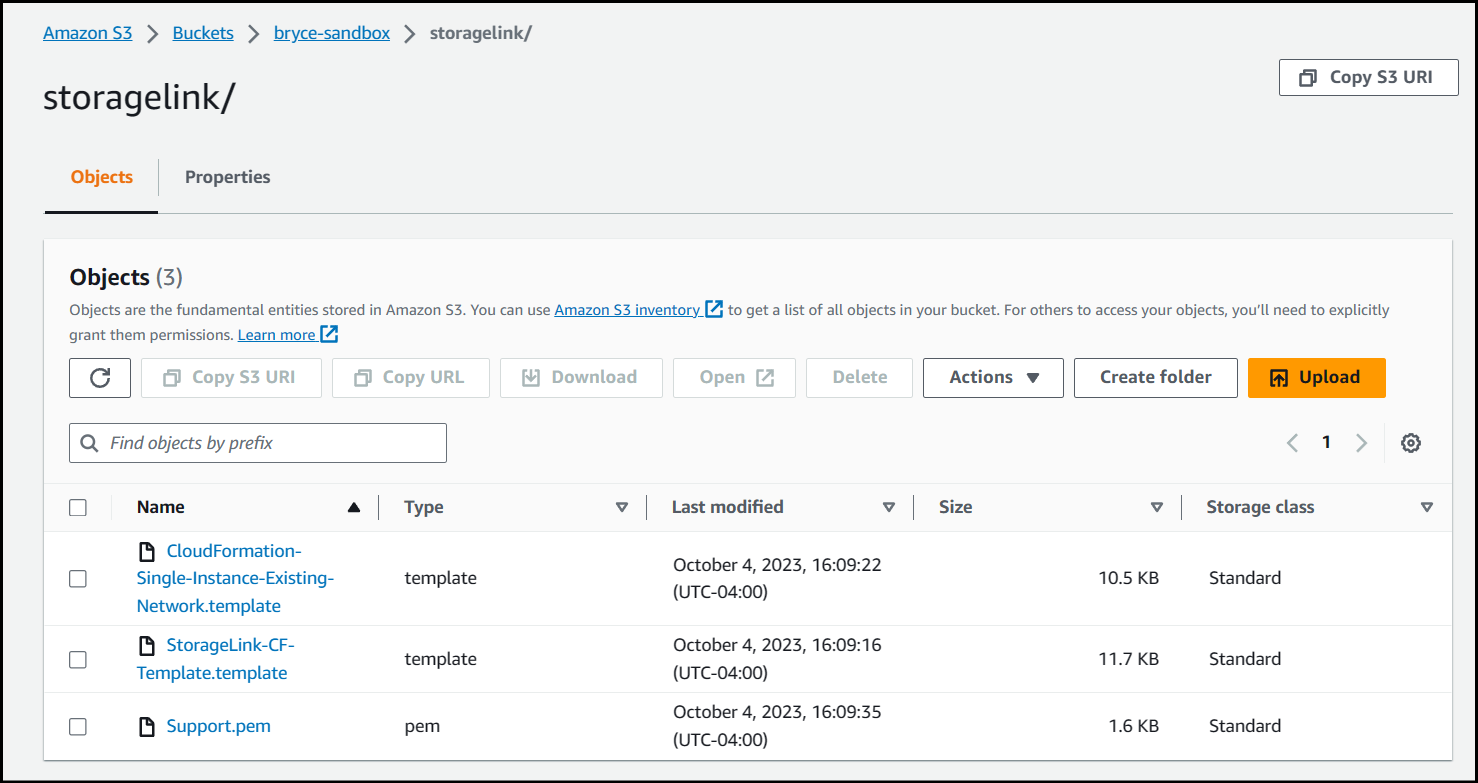
Step 3
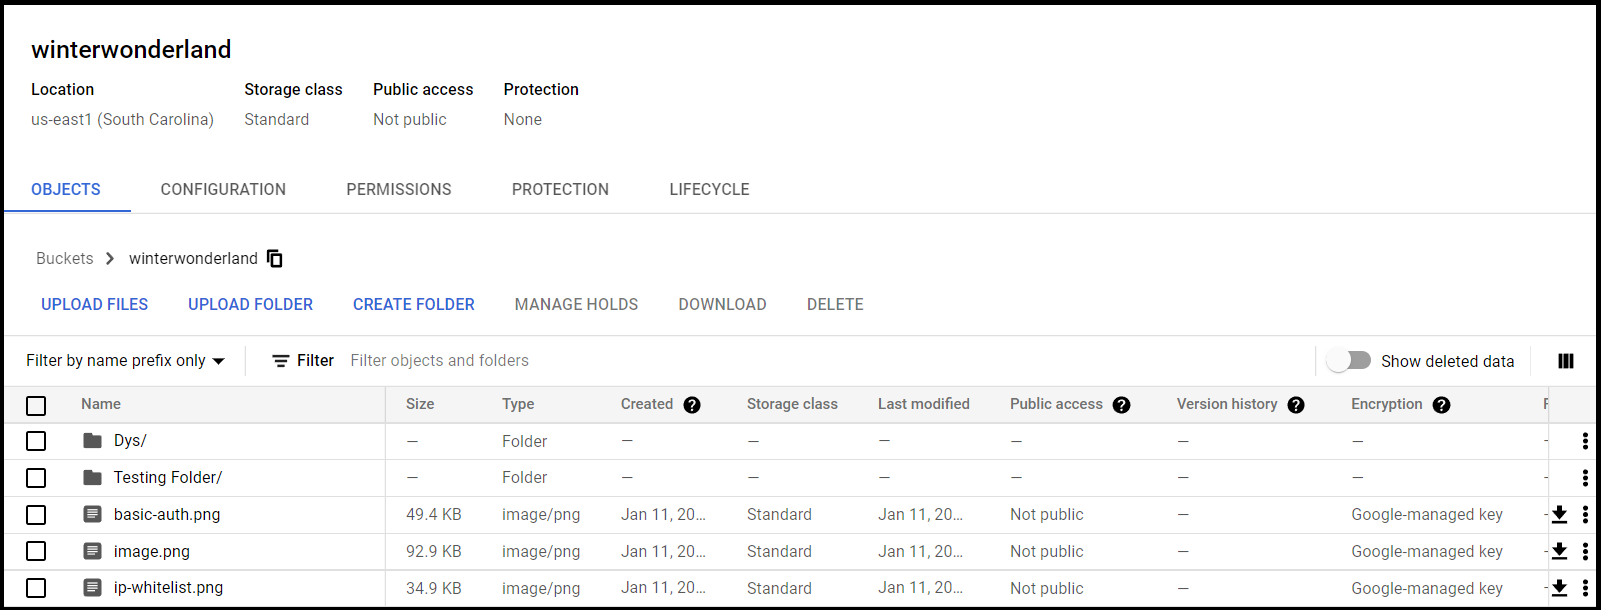
Click on your bucket and you will see your files and folders inside.
Step 1
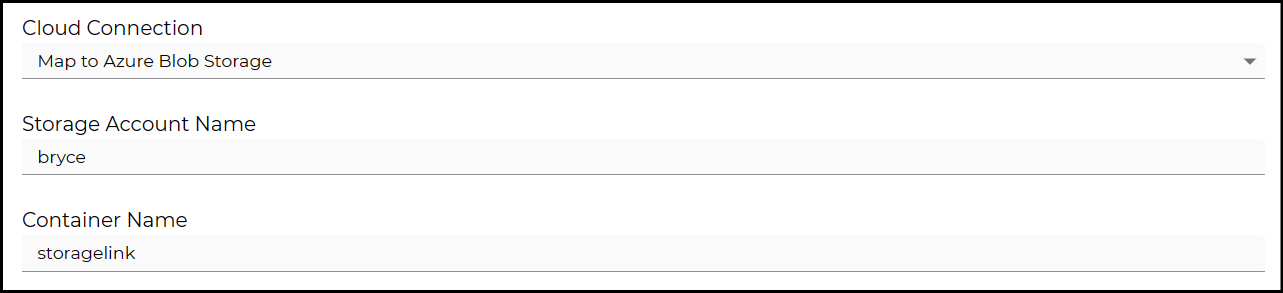
In the Web Admin Interface, edit the folder you're uploading data to, and you will see one of two views. The first view is when your folder is pointing directly to a Storage Account and Container.
The second view is when the folder is inheriting it's connection, meaning it is a subdirectory to a folder that points directly to a Storage Account and Container.
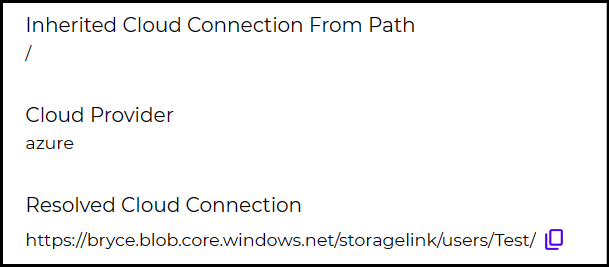
After determining the Container name and path, the next step would be navigating to the Container in the Storage Account.
Step 2
When you are in the Azure portal, use the top search bar and look for storage account.
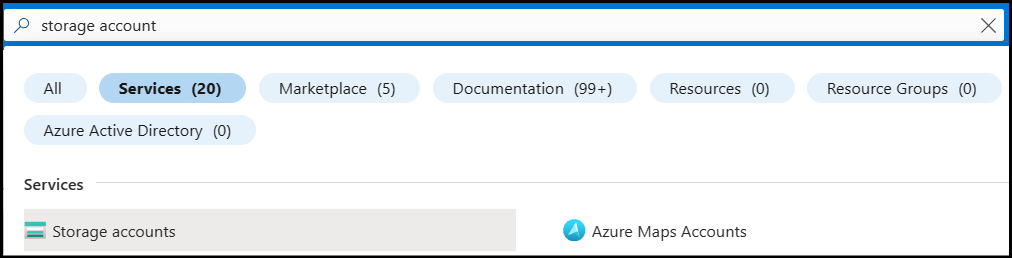
Click into the Storage accounts service and search for your Storage Account name.
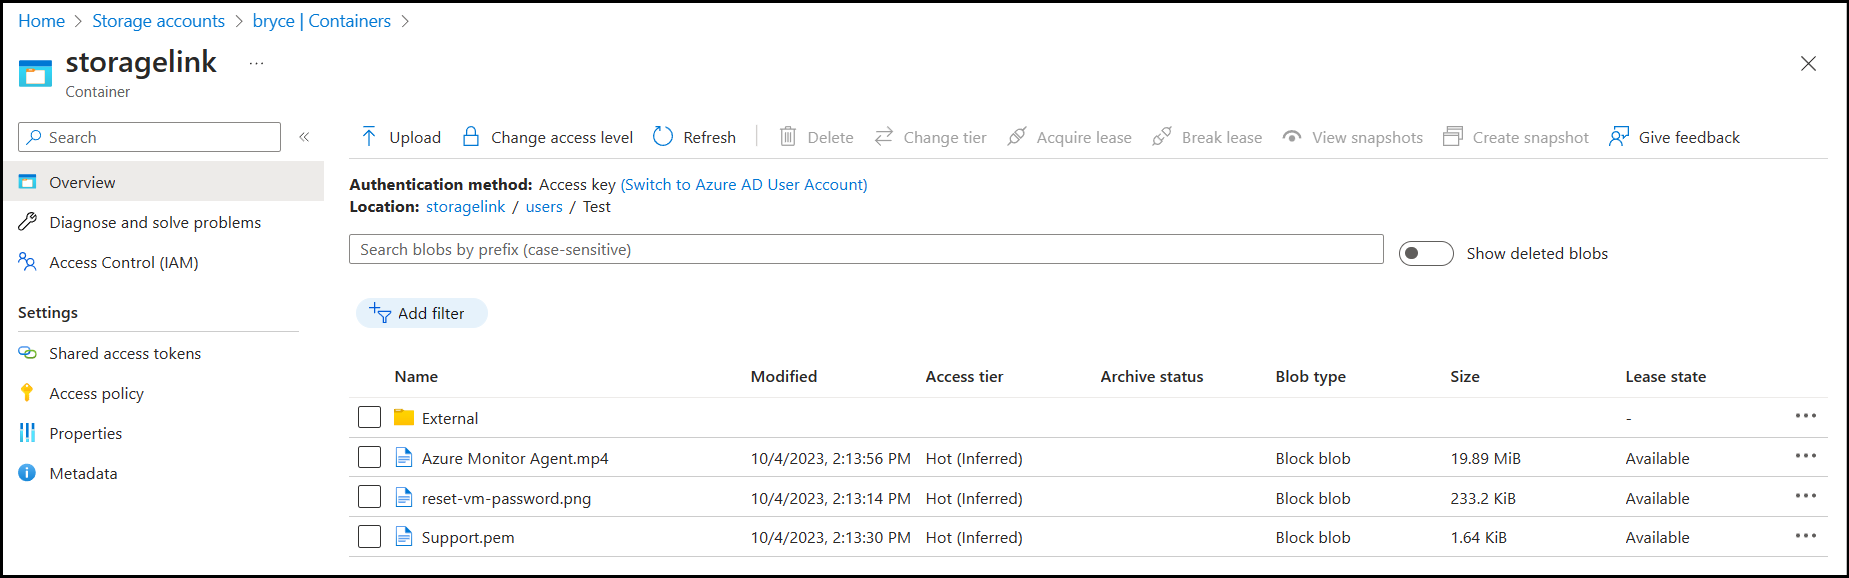
Step 3
Once inside your Storage Account, navigate to your Container and you will see your files and folders inside.
Step 1
In the Web Admin Interface, edit the folder you're uploading data to, and you will see one of two views. The first view is when your folder is pointing directly to a Cloud Storage Bucket.

The second view is when the folder is inheriting it's connection, meaning it is a subdirectory to a folder that points directly to a Cloud Storage Bucket.
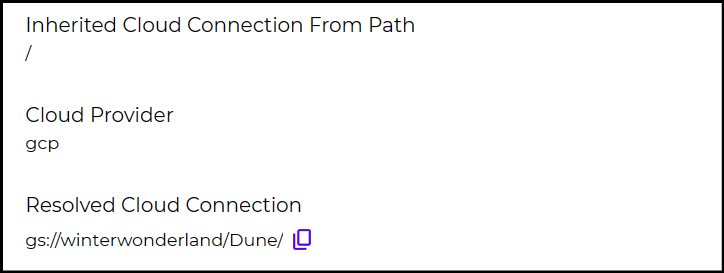
After determining the bucket name and path, the next step would be navigating to the bucket in Cloud Storage.
Step 2
When you are in the Google Cloud Console, use the top search bar and look for Cloud Storage.

Click into the Cloud Storage service and search for your bucket name.
Step 3
Click on your bucket and you will see your files and folders inside.