First Launch Experience
Purpose: Sign in to a new StorageLink deployment, start your free trial, and configure default cloud storage
Steps:
- Browse to the VM's public IP and use Click here to reach the HTTPS interface
- Bypass the self-signed certificate warning
- Sign in (AWS: CloudFormation admin credentials; Azure and Google Cloud: create the admin account first)
- Start the free 30-day trial from the admin UI (work email + 6-digit code)
- Configure default storage (AWS creates the
storagelink-i-[ec2_instance_id]bucket for you; on Azure and Google Cloud, complete Configure Default Storage)
License: StorageLink BYOL starts unlicensed, so non-admin sign-in and file transfers stay blocked until you start a trial or activate a license. The trial covers 10 StorageLink users; book a 15-minute call to purchase.
Pay-as-You-Go Listing: Licensed automatically from first boot — nothing to activate
Product: StorageLink by Thorn Technologies — cloud storage gateway for secure file sharing
Overview
The first time you launch StorageLink, you will go through a one-time configuration. This is where you sign in with your admin user and configure a default cloud storage location.
These steps are performed in the web interface, so there is no need to SSH into the server.
Open the web interface
Open a web browser and navigate to the public IP address of the instance.
- AWS
- Azure
If you used CloudFormation, go to the Outputs tab and copy the IP address value of the Hostname key.
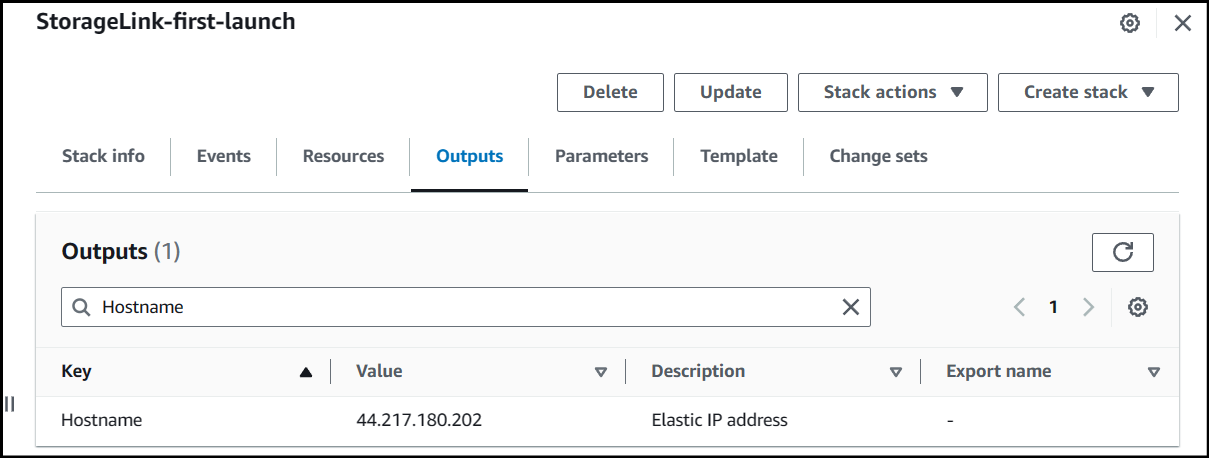
The public IP can be found on your VM details screen

You can find the public IP under the Network Interface / External IP of the VM.

After navigating to the IP address of your StorageLink server, you will see a Setup and login instructions page
located on HTTP. To access the StorageLink interface, which is on HTTPS, use the Click here link.
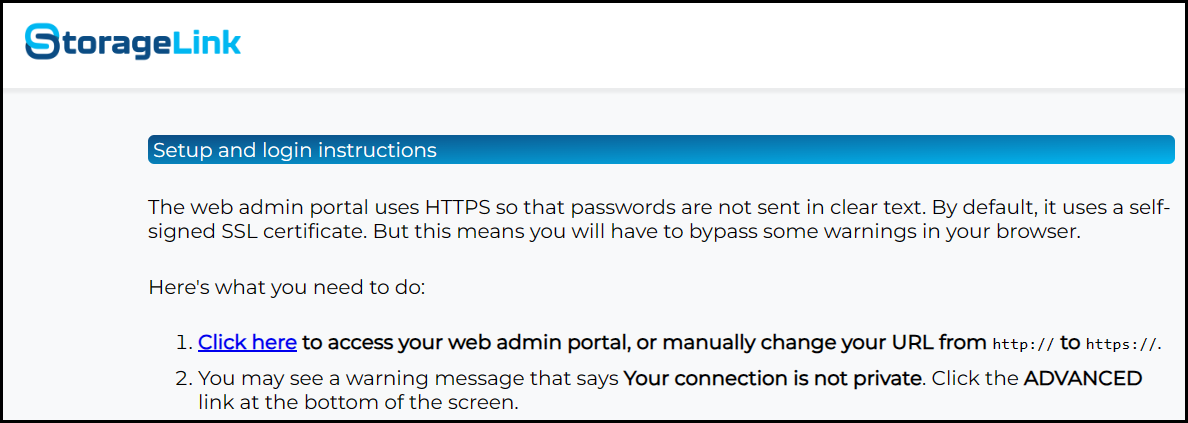
The first time you visit the site, you will see a warning message:
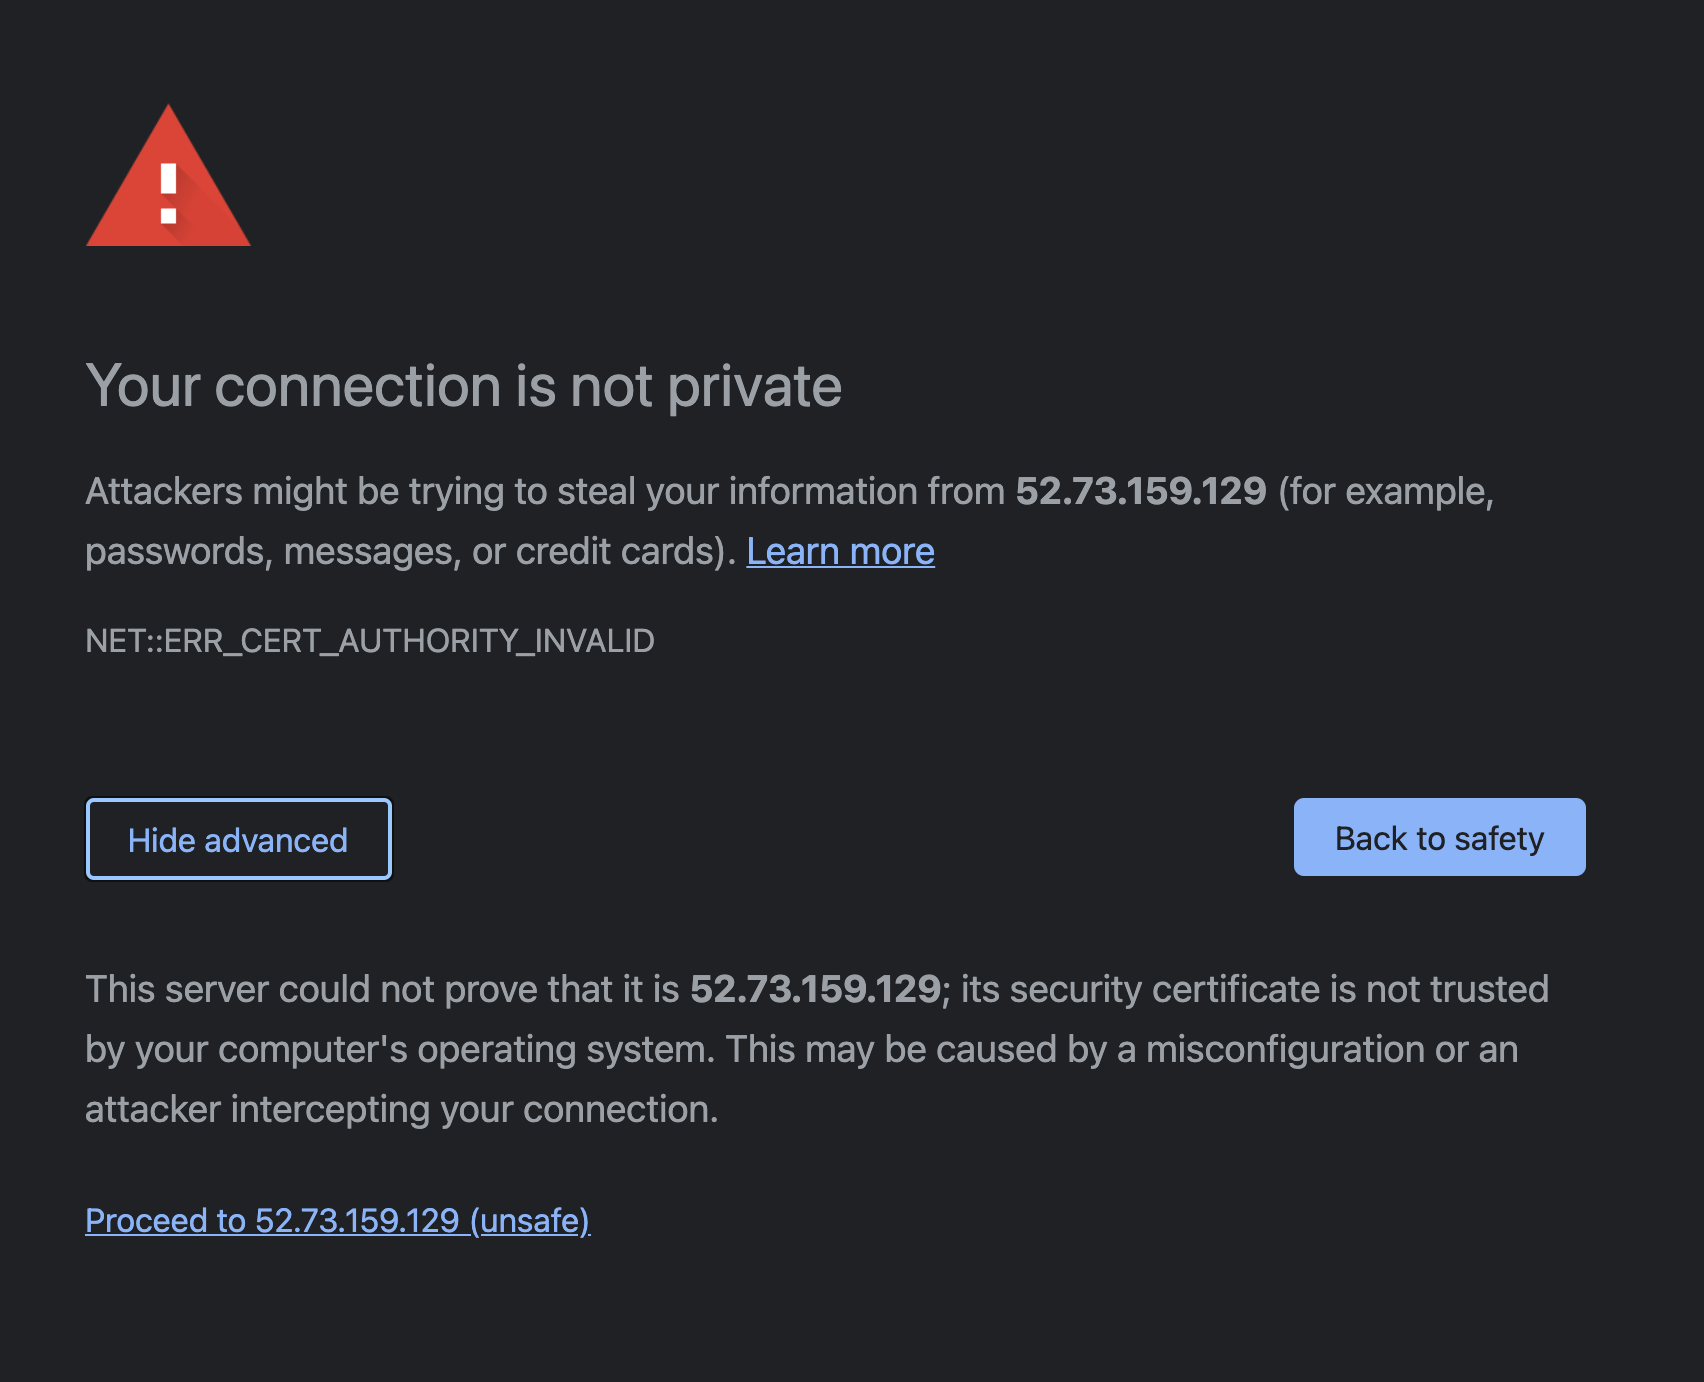
The web interface uses SSL to protect network traffic. But the SSL certificate is self-signed, so you will need to bypass this warning message.
Click Advanced to reveal the rest of the page & then click Proceed to IP-address (unsafe).
Create admin account & Sign in
After you bypass the SSL warning, you will see a Welcome page.
- AWS
- Azure
In AWS, the Welcome page is skipped and you are brought directly to the sign in screen. The admin account is created using the username and password you provided during the CloudFormation deployment.
In this section, you will create an admin account.
Fill out the following fields:
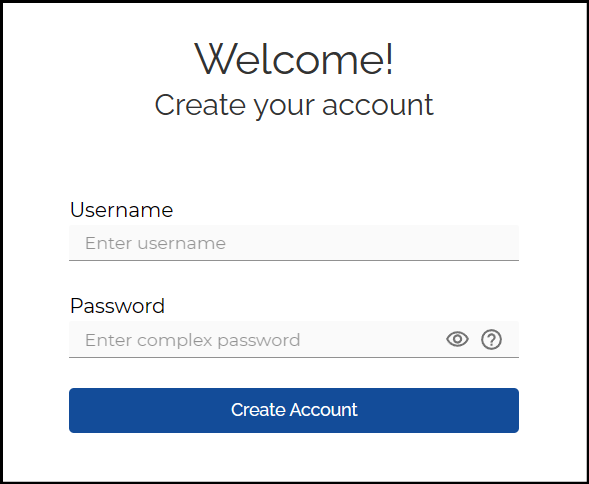
In this section, you will create an admin account.
Fill out the following fields:
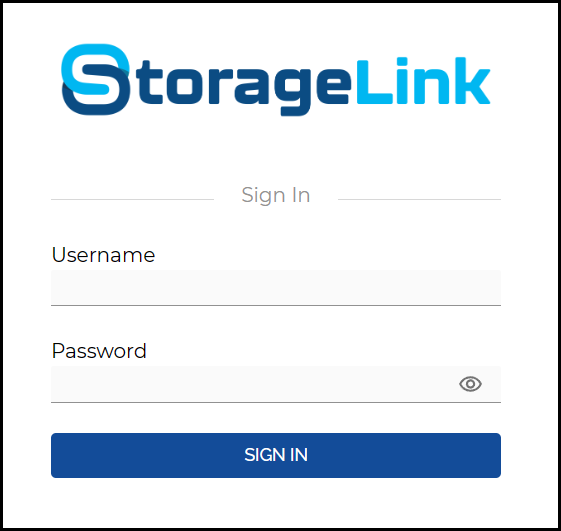
To sign in to the StorageLink Admin Interface, provide the username and password.
Start your free trial
A deployment from the StorageLink BYOL listing starts unlicensed. Administrators can sign in and configure everything, but until you start a trial or activate a license, non-administrator users cannot sign in and file transfers (uploads, downloads, and transfer jobs) are disabled.
Start a 30-day free trial directly from the admin UI — no license file and no credit card required:
After you sign in, the Start a 30-day free trial card appears at the top of the admin UI.
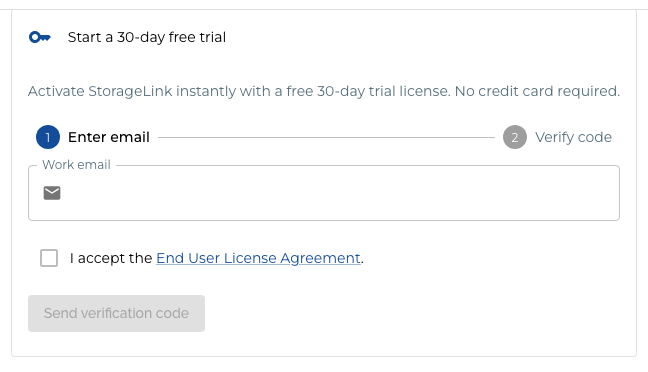
Under Enter email, type your work email address, tick I accept the End User License Agreement, and click Send verification code.
Check your email for a 6-digit verification code. If it does not arrive within a few minutes, check your spam folder.
Under Verify code, enter the code and click Start trial.
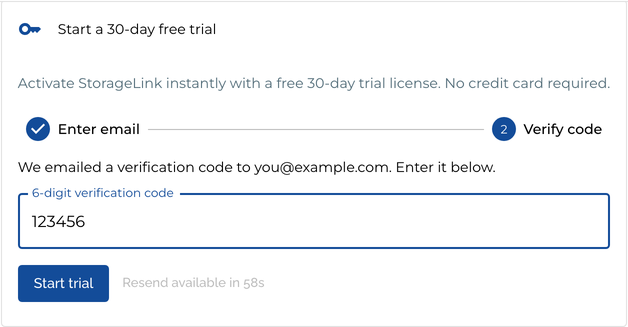
The trial activates immediately, with no restart, and covers up to 10 StorageLink users. A banner at the top of the admin UI shows how many days remain. Each email address can start one trial.
When you're ready to license your deployment, book a 15-minute call with our Sales team to purchase a license for 10, 100 or 1,000 users. Purchasing a License covers activating it.
There is nothing to activate. A pay-as-you-go instance confirms its entitlement with your cloud provider automatically and is licensed from first boot for up to 10 StorageLink users (administrators are not counted). Settings → License shows that the license came from the marketplace.
Configure default folder
This is where you will configure a default cloud storage location that will be associated with the root folder.
- AWS
- Azure
After signing in, you will be met with this view:
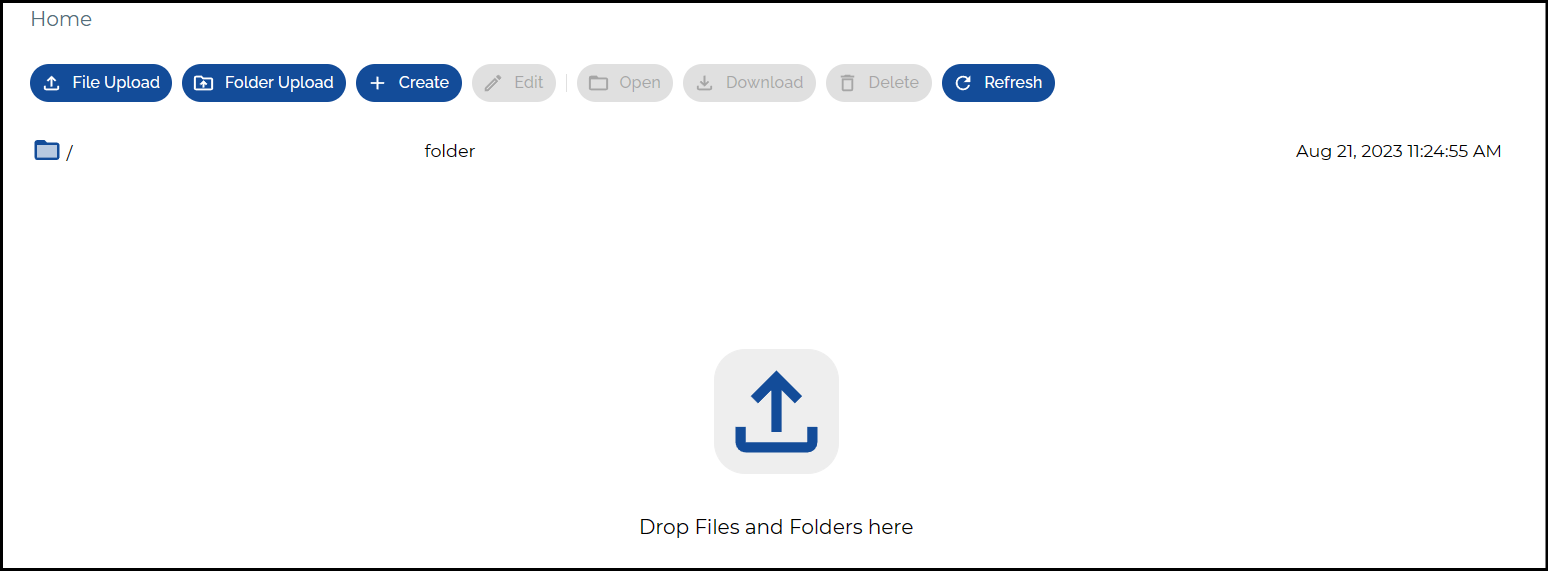
By default, StorageLink creates an S3 bucket for you on first boot and configures the root folder to use this bucket. The naming convention for the bucket is:
storagelink-i-[ec2_instance_id]
The CloudFormation template grants the instance access to buckets whose names start with storagelink-i-.
To change the folder to point to your own bucket, click on the / folder and select Edit.
Here, you can change the S3 URL to point to a different S3 bucket.
For more information about connecting to a different S3 bucket, check out this article.
After signing into the Admin Interface, you will see a pop-up message asking you to Configure Default Storage.
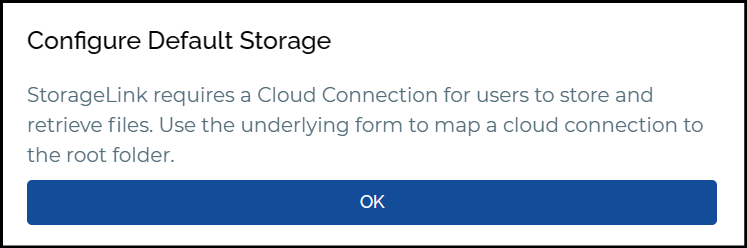
Default Storage is the Blob Storage Account & Container you will be connecting to and is also the root folder '/' of your filesystem.
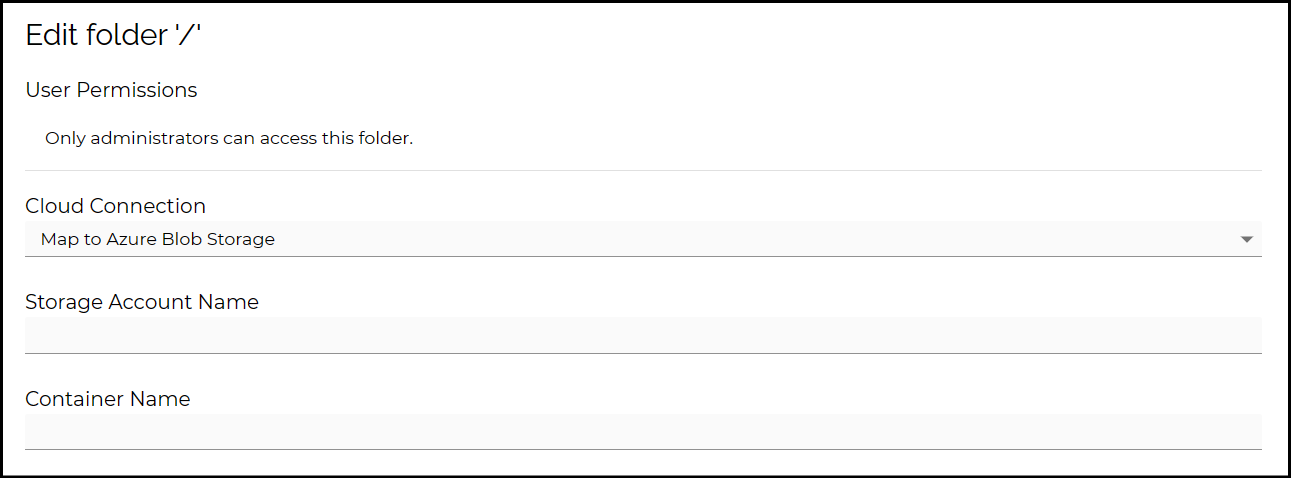
Fill out the Storage Account Name & Container Name fields and then change the Cloud Credentials to use
Create New Credentials.
You can retrieve the Connection String from Storage Account ---> Access keys ---> Connection String in the Azure portal.
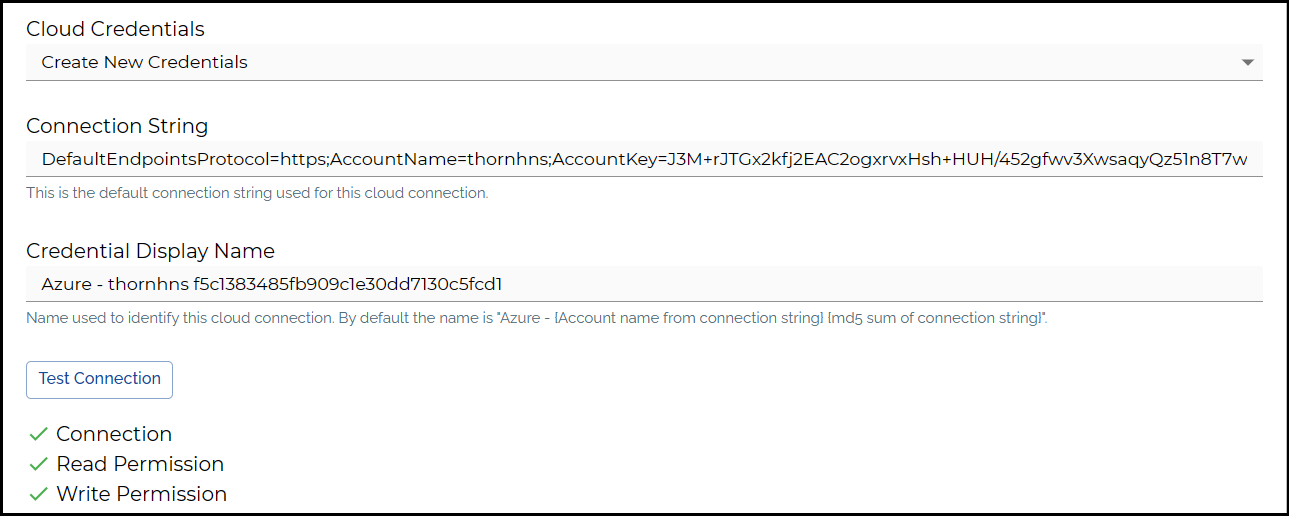
Once everything has been filled out, click on Test Connection. Ideally, this will return 3 green checkmarks. If not, review the information to make sure everything has been filled out correctly.
Click SAVE and you will then see a view of the folders & files within your container.
If your container is empty, you will see this view:
After signing into the Admin Interface, you will see a pop-up message asking you to Configure Default Storage.
Default Storage is the Google Cloud Storage Bucket you will be connecting to and is also the root folder '/' of your filesystem.
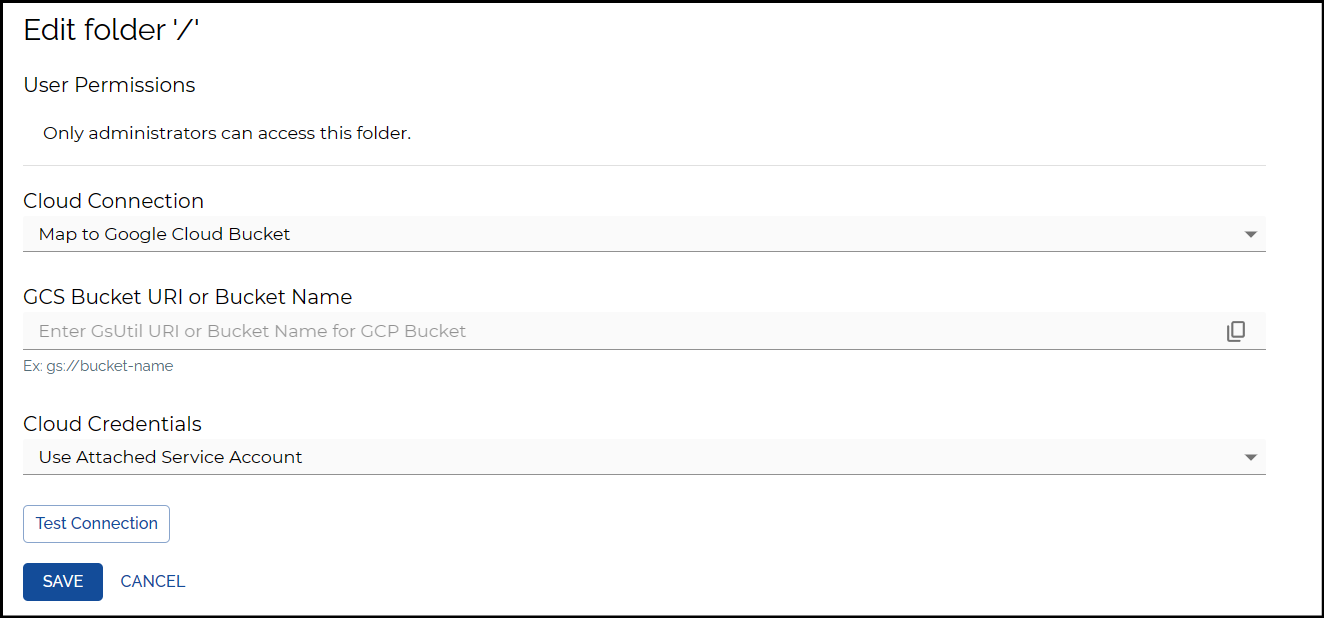
Fill out the Bucket Name, and include the filepath if you want to connect to a specific directory.
For the Cloud Credentials, you have the choice to use an Attatched Service Account or a Service Account JSON Key File.
For using an Attatched Service Account, check out our documentation for Setting up Instance Identity for StorageLink.
For using an Service Account JSON Key File, check out our documentation for Configuring a Service Account & JSON Key File.
Once everything has been filled out, click on Test Connection. Ideally, this will return 3 green checkmarks. If not, review the information to make sure everything has been filled out correctly.
Click SAVE and you will then see a view of the folders & files within your container.
If your bucket is empty, you will see this view: