
Normal Flow as a Web User
Purpose: Sign in as a Web User, set your password, and upload, download, rename, and delete files
Flow:
- Sign in with the URL, username, and One-Time Password from your administrator, or with single sign-on
- Set a new password at first sign-in (at least 12 characters by default)
- Upload by drag and drop, File Upload, or Folder Upload
- Select a file to Download, Edit (rename), or Delete it
- Switch language with EN / FR; change your password or log out from the menu under your name
Requirements: A web browser — nothing to install; uploads go straight to cloud storage
Important: Deleting a file is immediate and permanent — no confirmation, and no recycle bin unless your administrator enabled object versioning
Product: StorageLink by Thorn Technologies — cloud storage gateway for secure file sharing
Overview
This guide covers the day-to-day flow for a Web User: signing in, the one-time first-sign-in password reset, and the file operations available in your Home Folder. You don't need to install anything — StorageLink runs entirely in your browser.
Your administrator should have given you a URL, a username, and a One-Time Password.
Step 1 — Sign in
Open the StorageLink URL in your browser. The sign-in page appears.
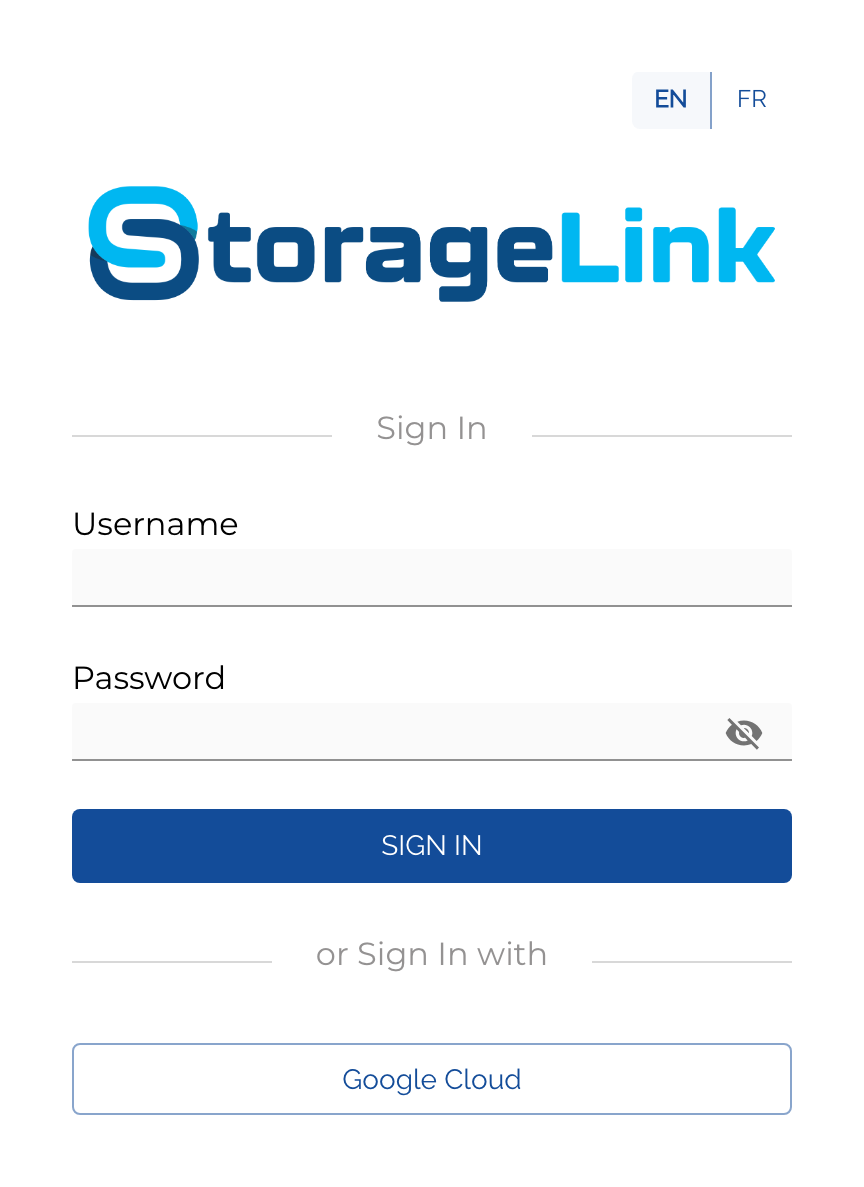
Enter your Username and Password, then click SIGN IN.
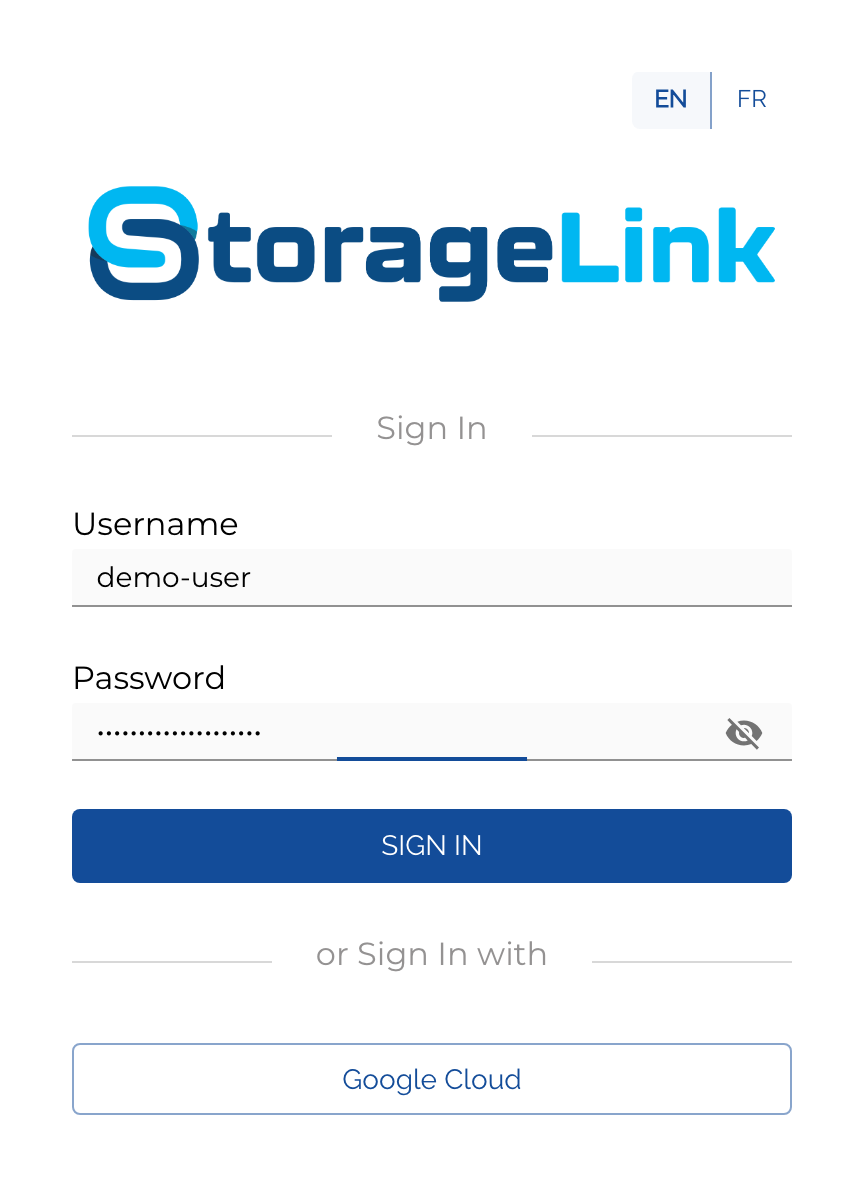
If your organization uses an Identity Provider, click the single sign-on button under or Sign In with (for example, Google Cloud) instead of typing a password.
If your browser shows a "Your connection is not private" warning, your administrator hasn't installed a custom SSL certificate yet. If the URL came from your admin, it's safe to click Advanced → Proceed.
Step 2 — Set your password (first sign-in only)
Because your account was created with a One-Time Password, the first time you sign in StorageLink prompts you to set a new password. The screen reads "Your password was a One-Time Password. Please set a new password to continue."
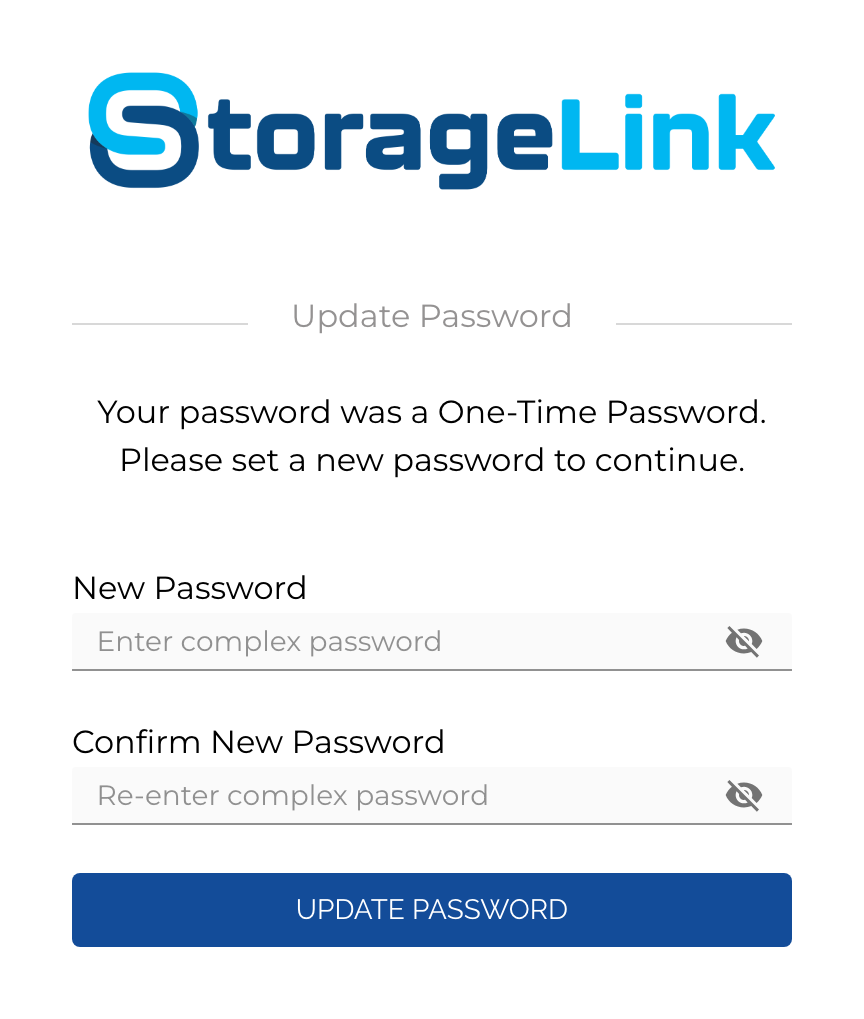
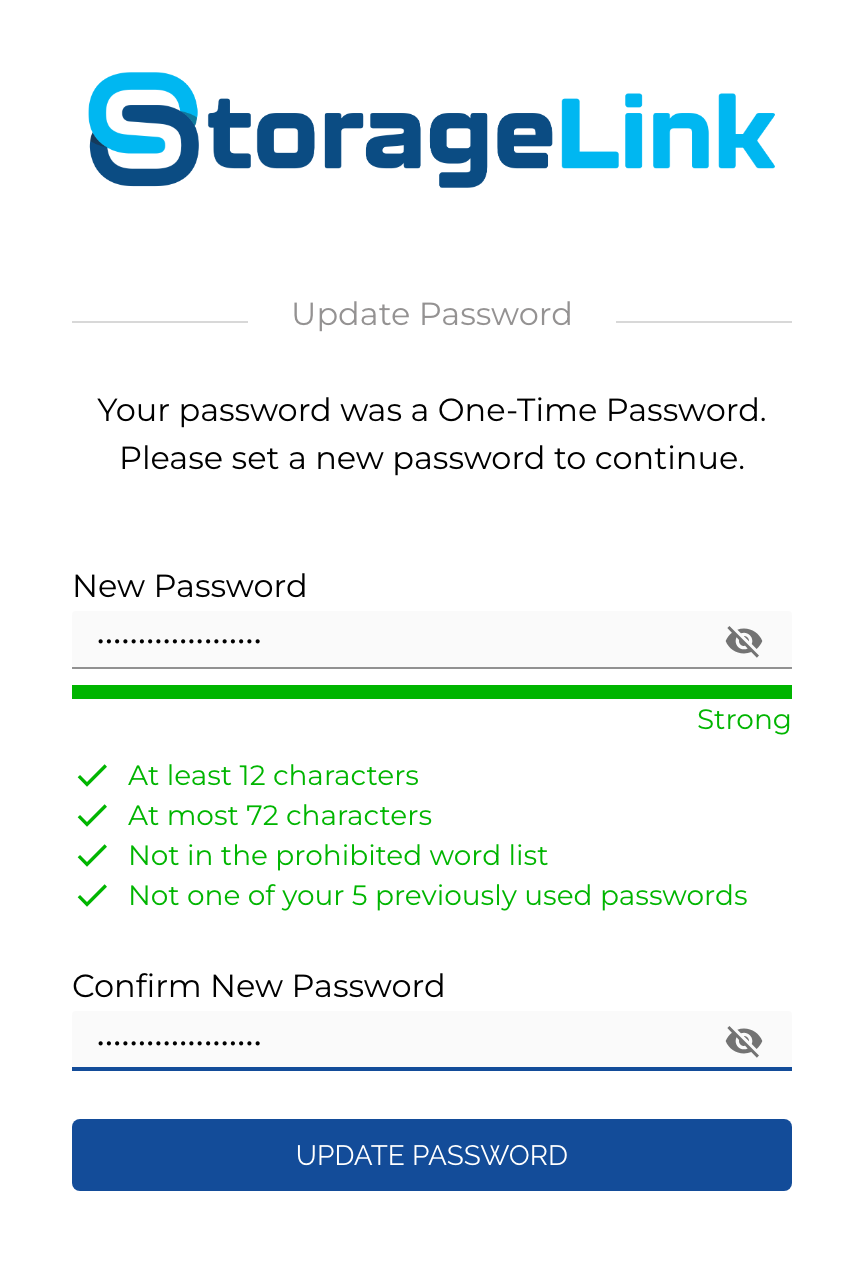
A live strength meter and checklist validate your new password as you type. The default rules are:
- At least 12 characters
- At most 72 characters
- Not in the prohibited word list
- Not one of your 5 previously used passwords
When every rule shows a green checkmark and the meter reads Strong, retype the password in Confirm New Password and click UPDATE PASSWORD.
You won't be prompted again unless your administrator flags your account for another reset.
Step 3 — Your Home Folder
After signing in you land in your Home Folder.
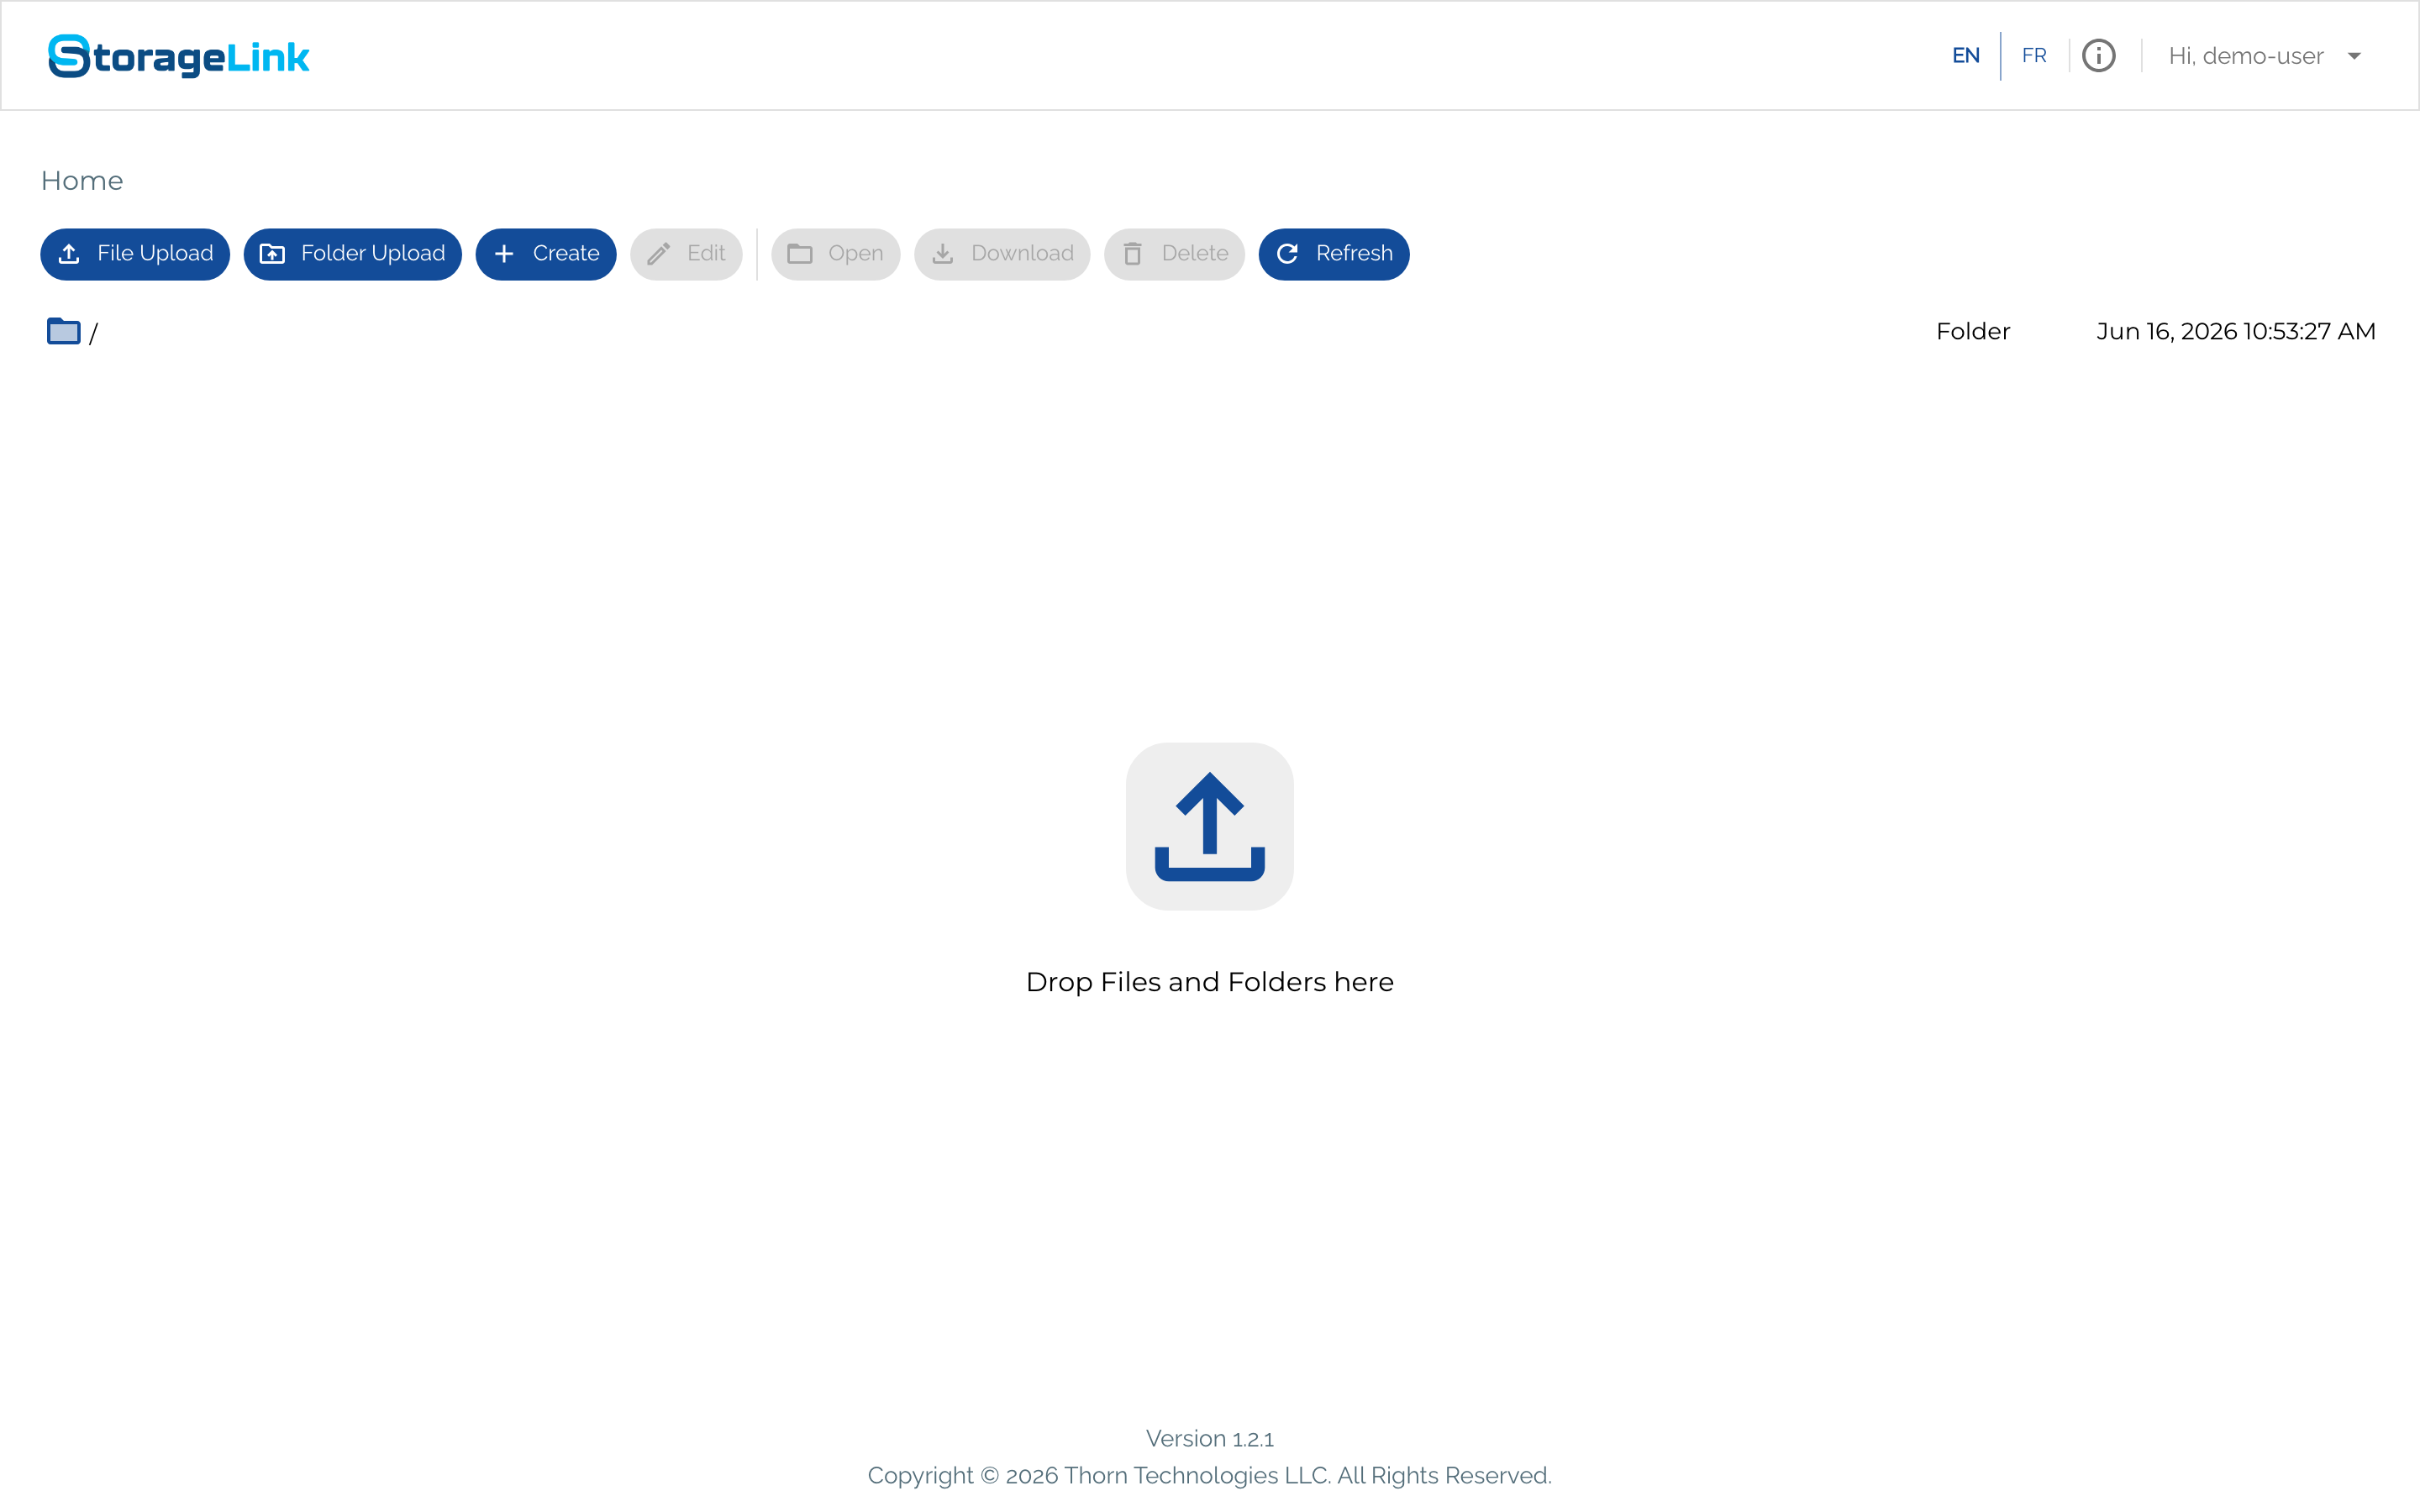
A few things to notice:
- Breadcrumb — shows "Home". You can't navigate above this; your administrator restricted you to this area.
- Toolbar — File Upload, Folder Upload, Create, Edit, Open, Download, Delete, and Refresh. Edit, Open, Download, and Delete are greyed out until you select a file.
- Drop zone — the large "Drop Files and Folders here" area in the center is a drag-and-drop upload target.
- Top-right — an EN / FR language toggle, an info icon, and your username with a dropdown menu.
Step 4 — Upload files
You can upload two ways — use whichever is easier:
- Drag and drop a file (or multiple files, or a whole folder) onto the Drop Files and Folders here zone.
- Click File Upload (or Folder Upload) in the toolbar and pick files from the browser's file picker.
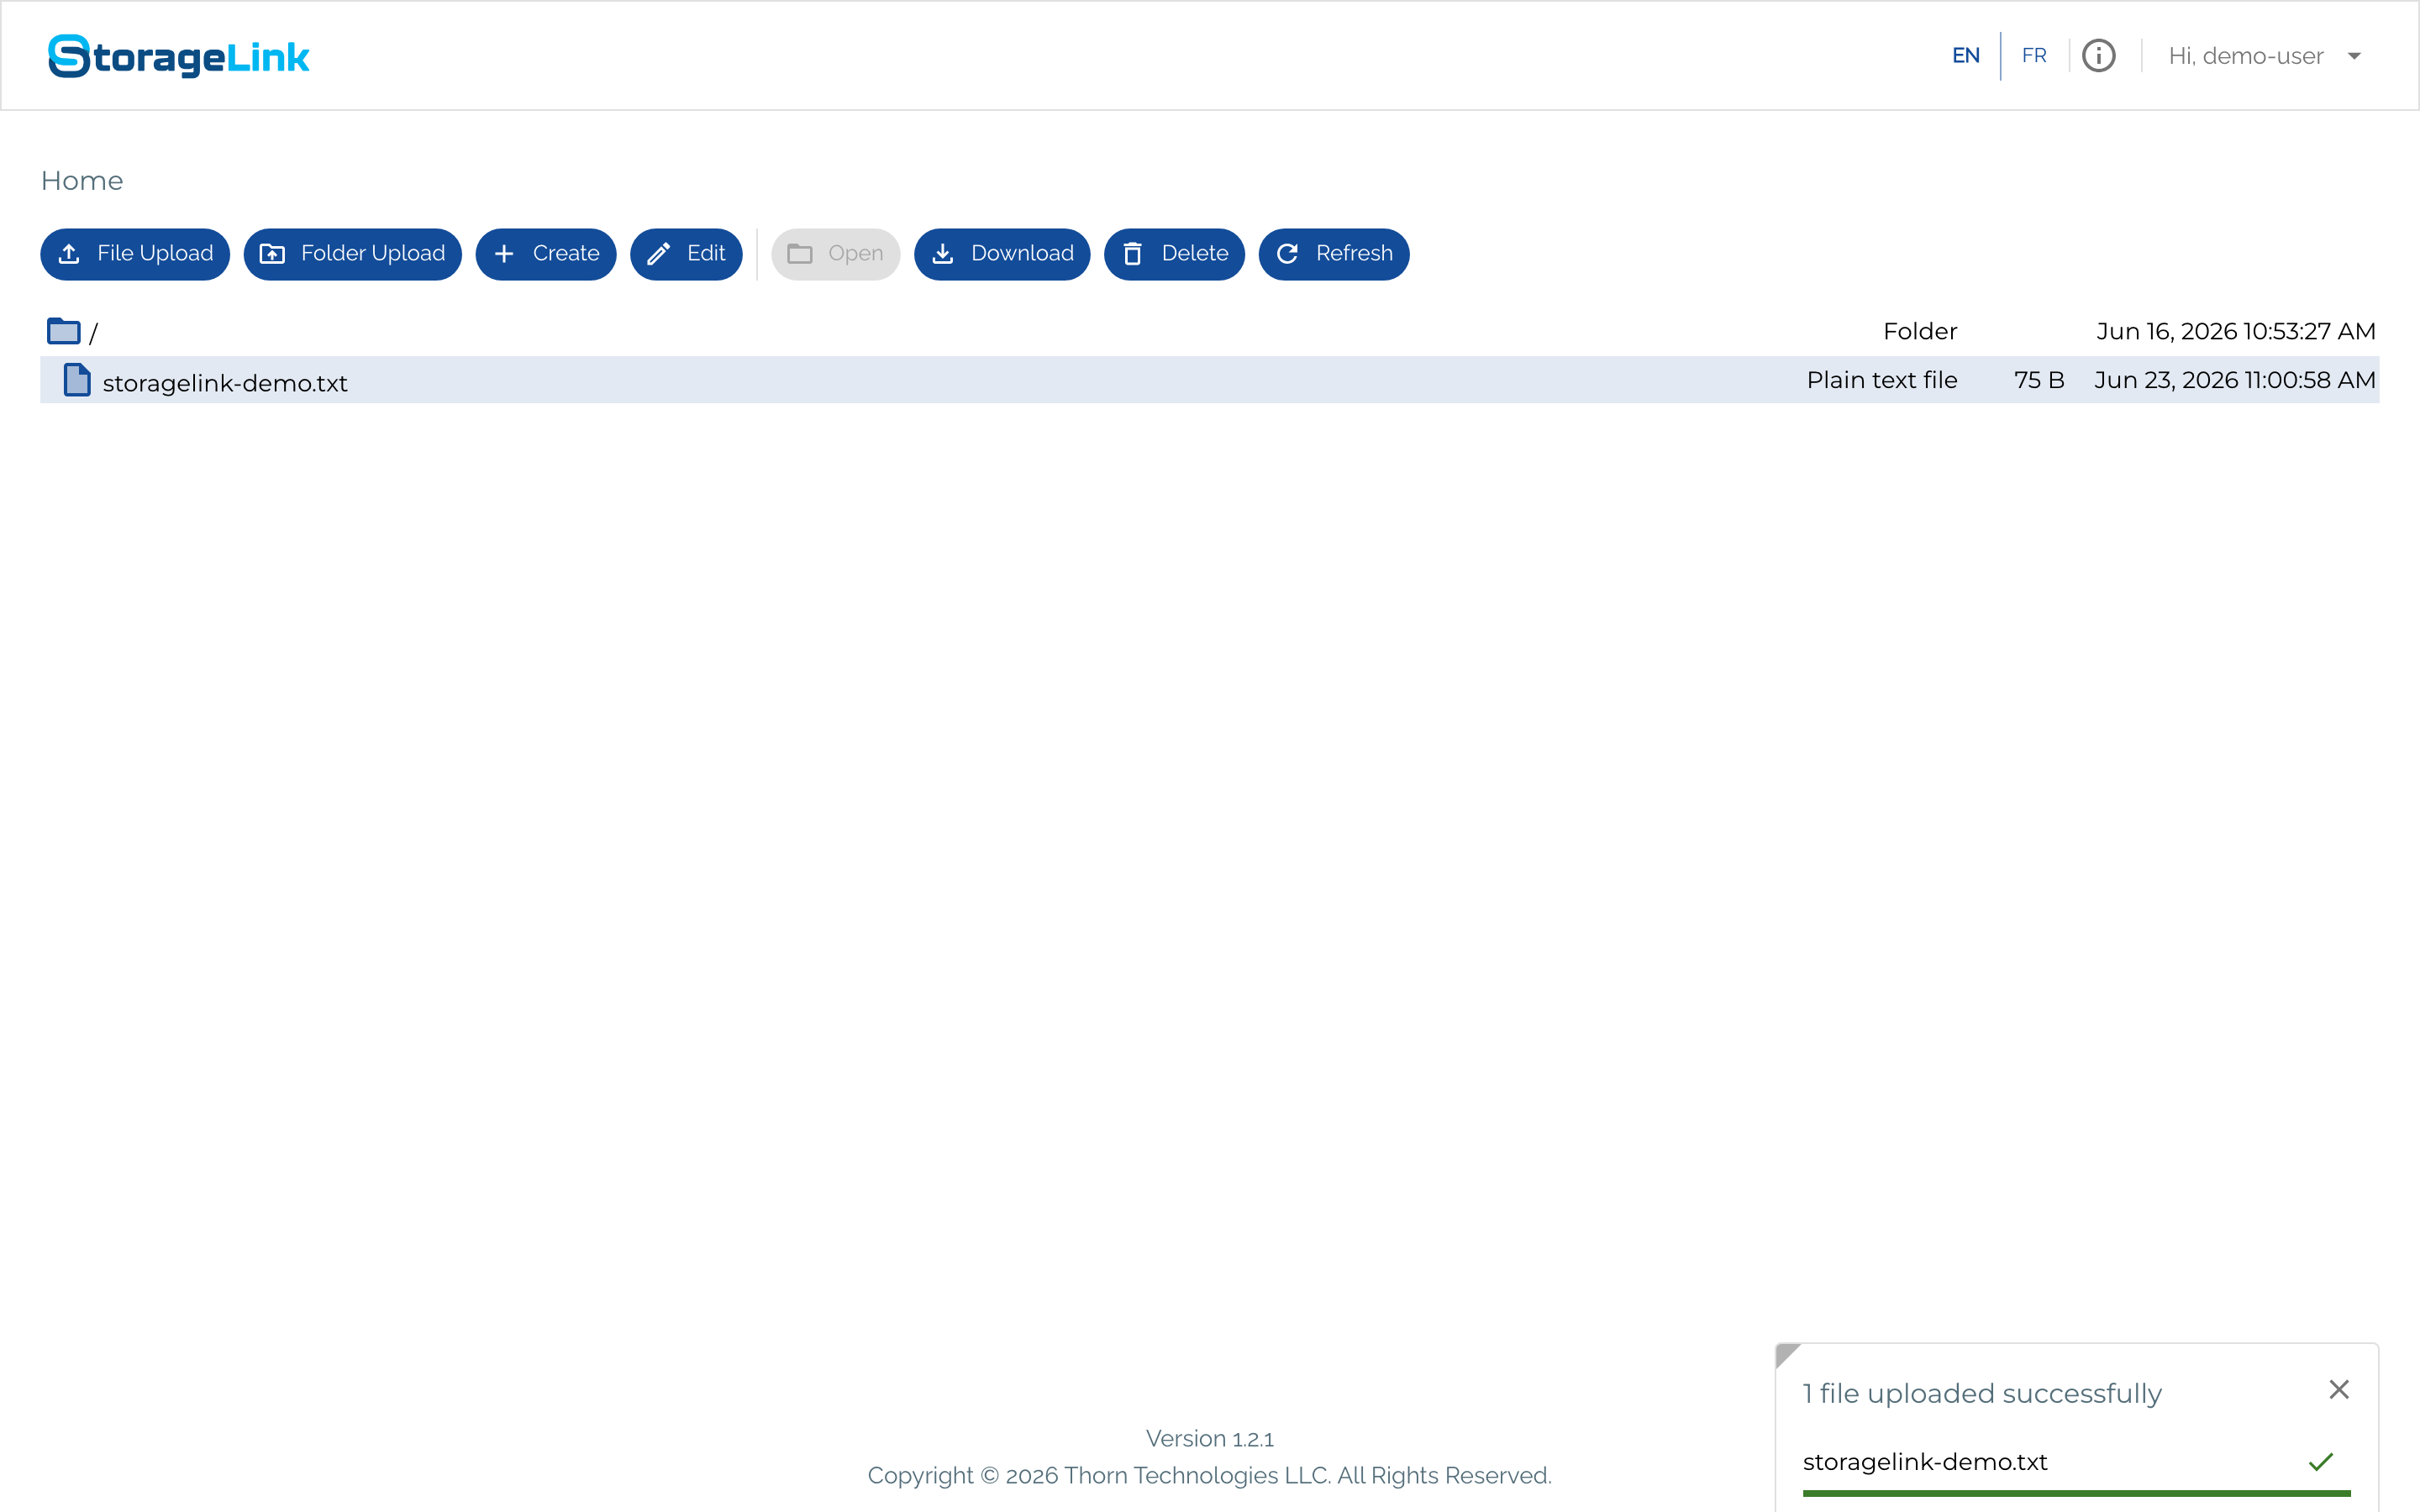
A toast in the bottom-right corner reports progress and shows "1 file uploaded successfully" with a green checkmark next to each filename. Files are written directly to Cloud Storage as the upload completes — there's no sync delay.
Step 5 — Select a file
Click a file's row to select it. The Edit, Download, and Delete buttons become active, and the row shows the file's type, size, and timestamp.
Step 6 — Download files
- Click the row for the file you want.
- Click Download in the toolbar.
The file saves to your browser's default download location. To download several at once, select multiple rows (Shift-click or Ctrl/Cmd-click) and click Download — StorageLink packages them into a single ZIP.
Step 7 — Rename a file
In StorageLink, Edit on a file means rename.
- Select the file and click Edit. The edit screen opens, titled Edit file '/<filename>'.
- Change the Name field and click SAVE. (Click CANCEL to discard the change.)
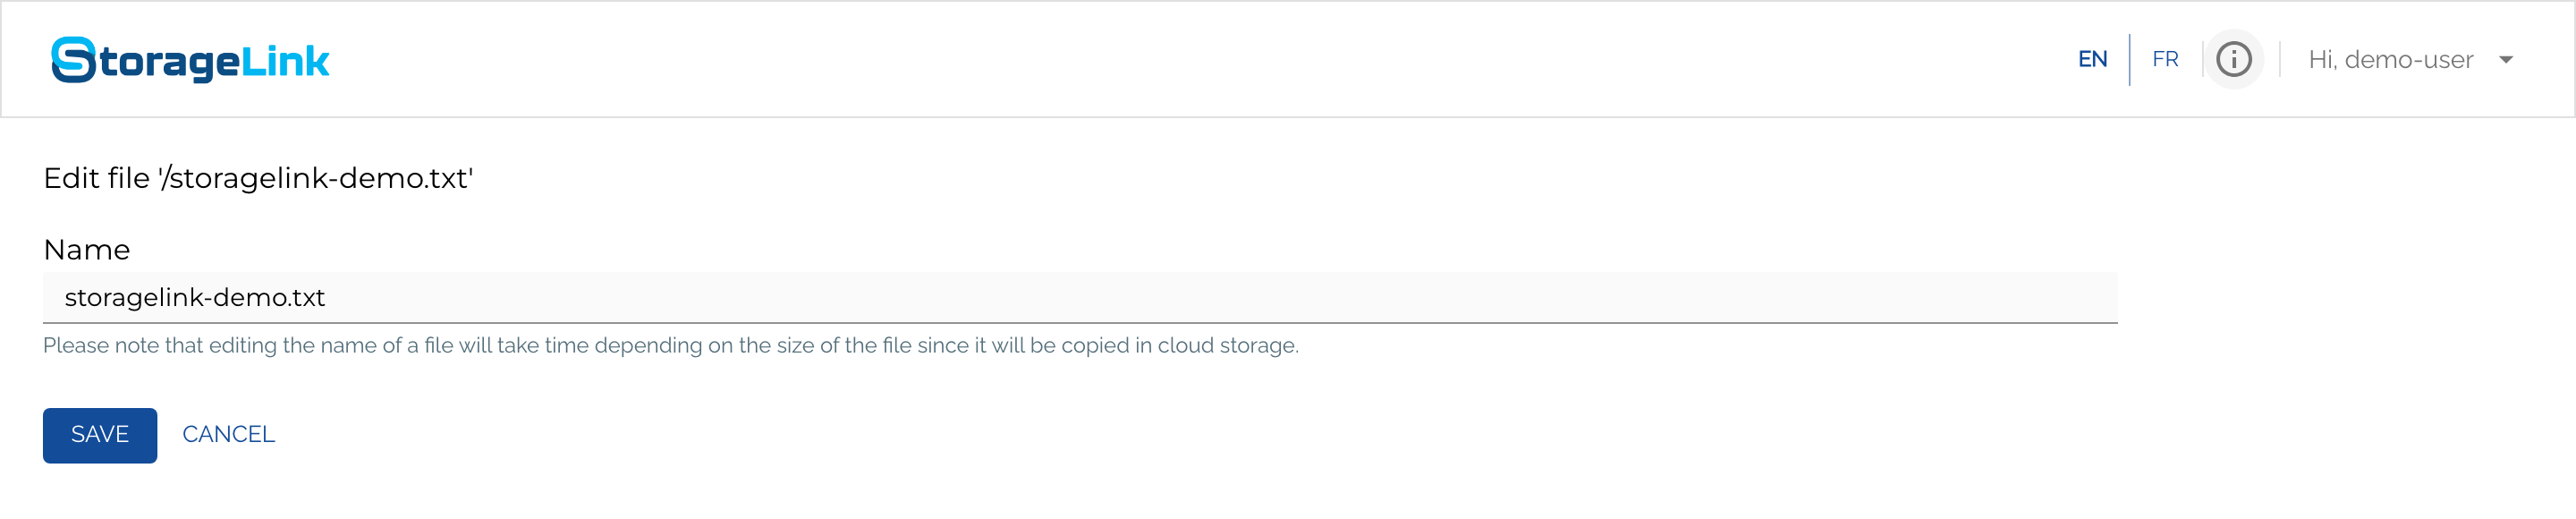
Renaming copies the file in Cloud Storage under the new name and removes the old one, so large files take a moment.
Step 8 — Delete a file
- Select the file and click Delete.
- The delete runs immediately and a green "Successfully completed delete" toast appears.
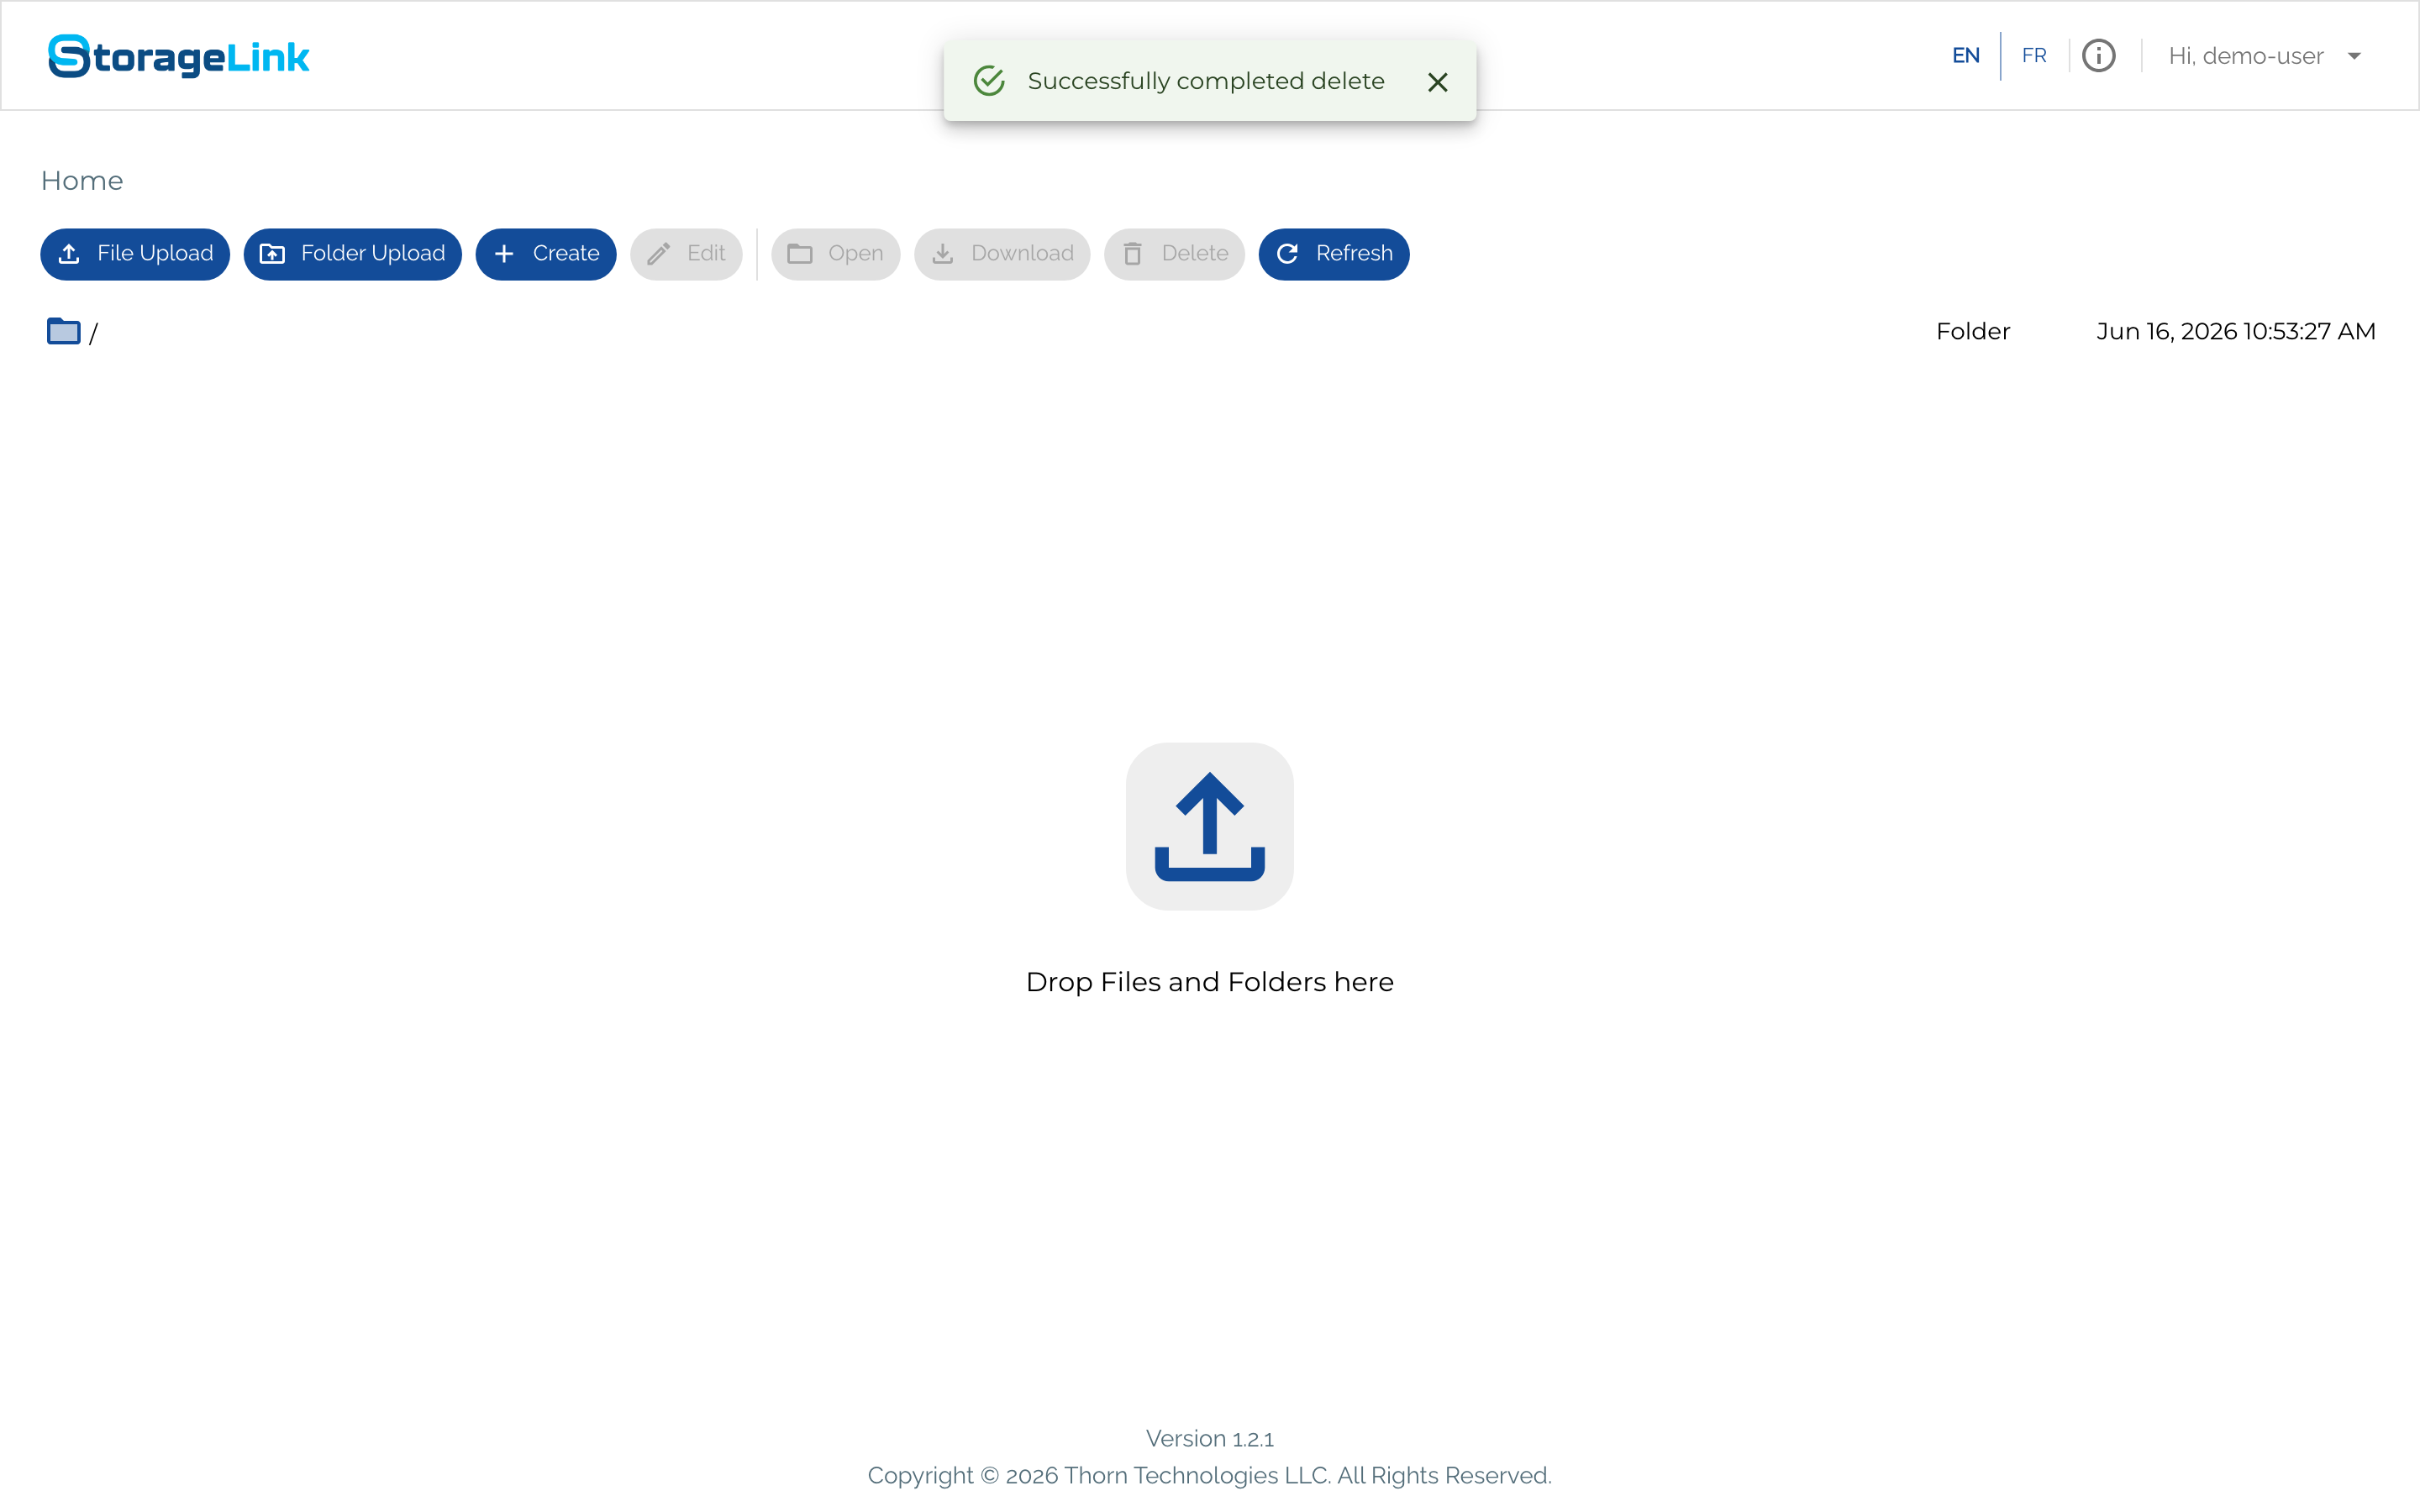
There is no confirmation dialog — clicking Delete removes the file at once.
There is no recycle bin. A delete is permanent unless your administrator has enabled object versioning at the Cloud Storage layer. Make sure you mean it before clicking Delete.
Step 9 — Switch language
StorageLink supports English and French. Use the EN / FR toggle in the top-right corner of any page — the change is immediate. If you only see one option, your administrator has enabled only that language.
Step 10 — Change your password or log out
Click your name in the top-right corner ("Hi, <your-username> ▾") to open the user menu.
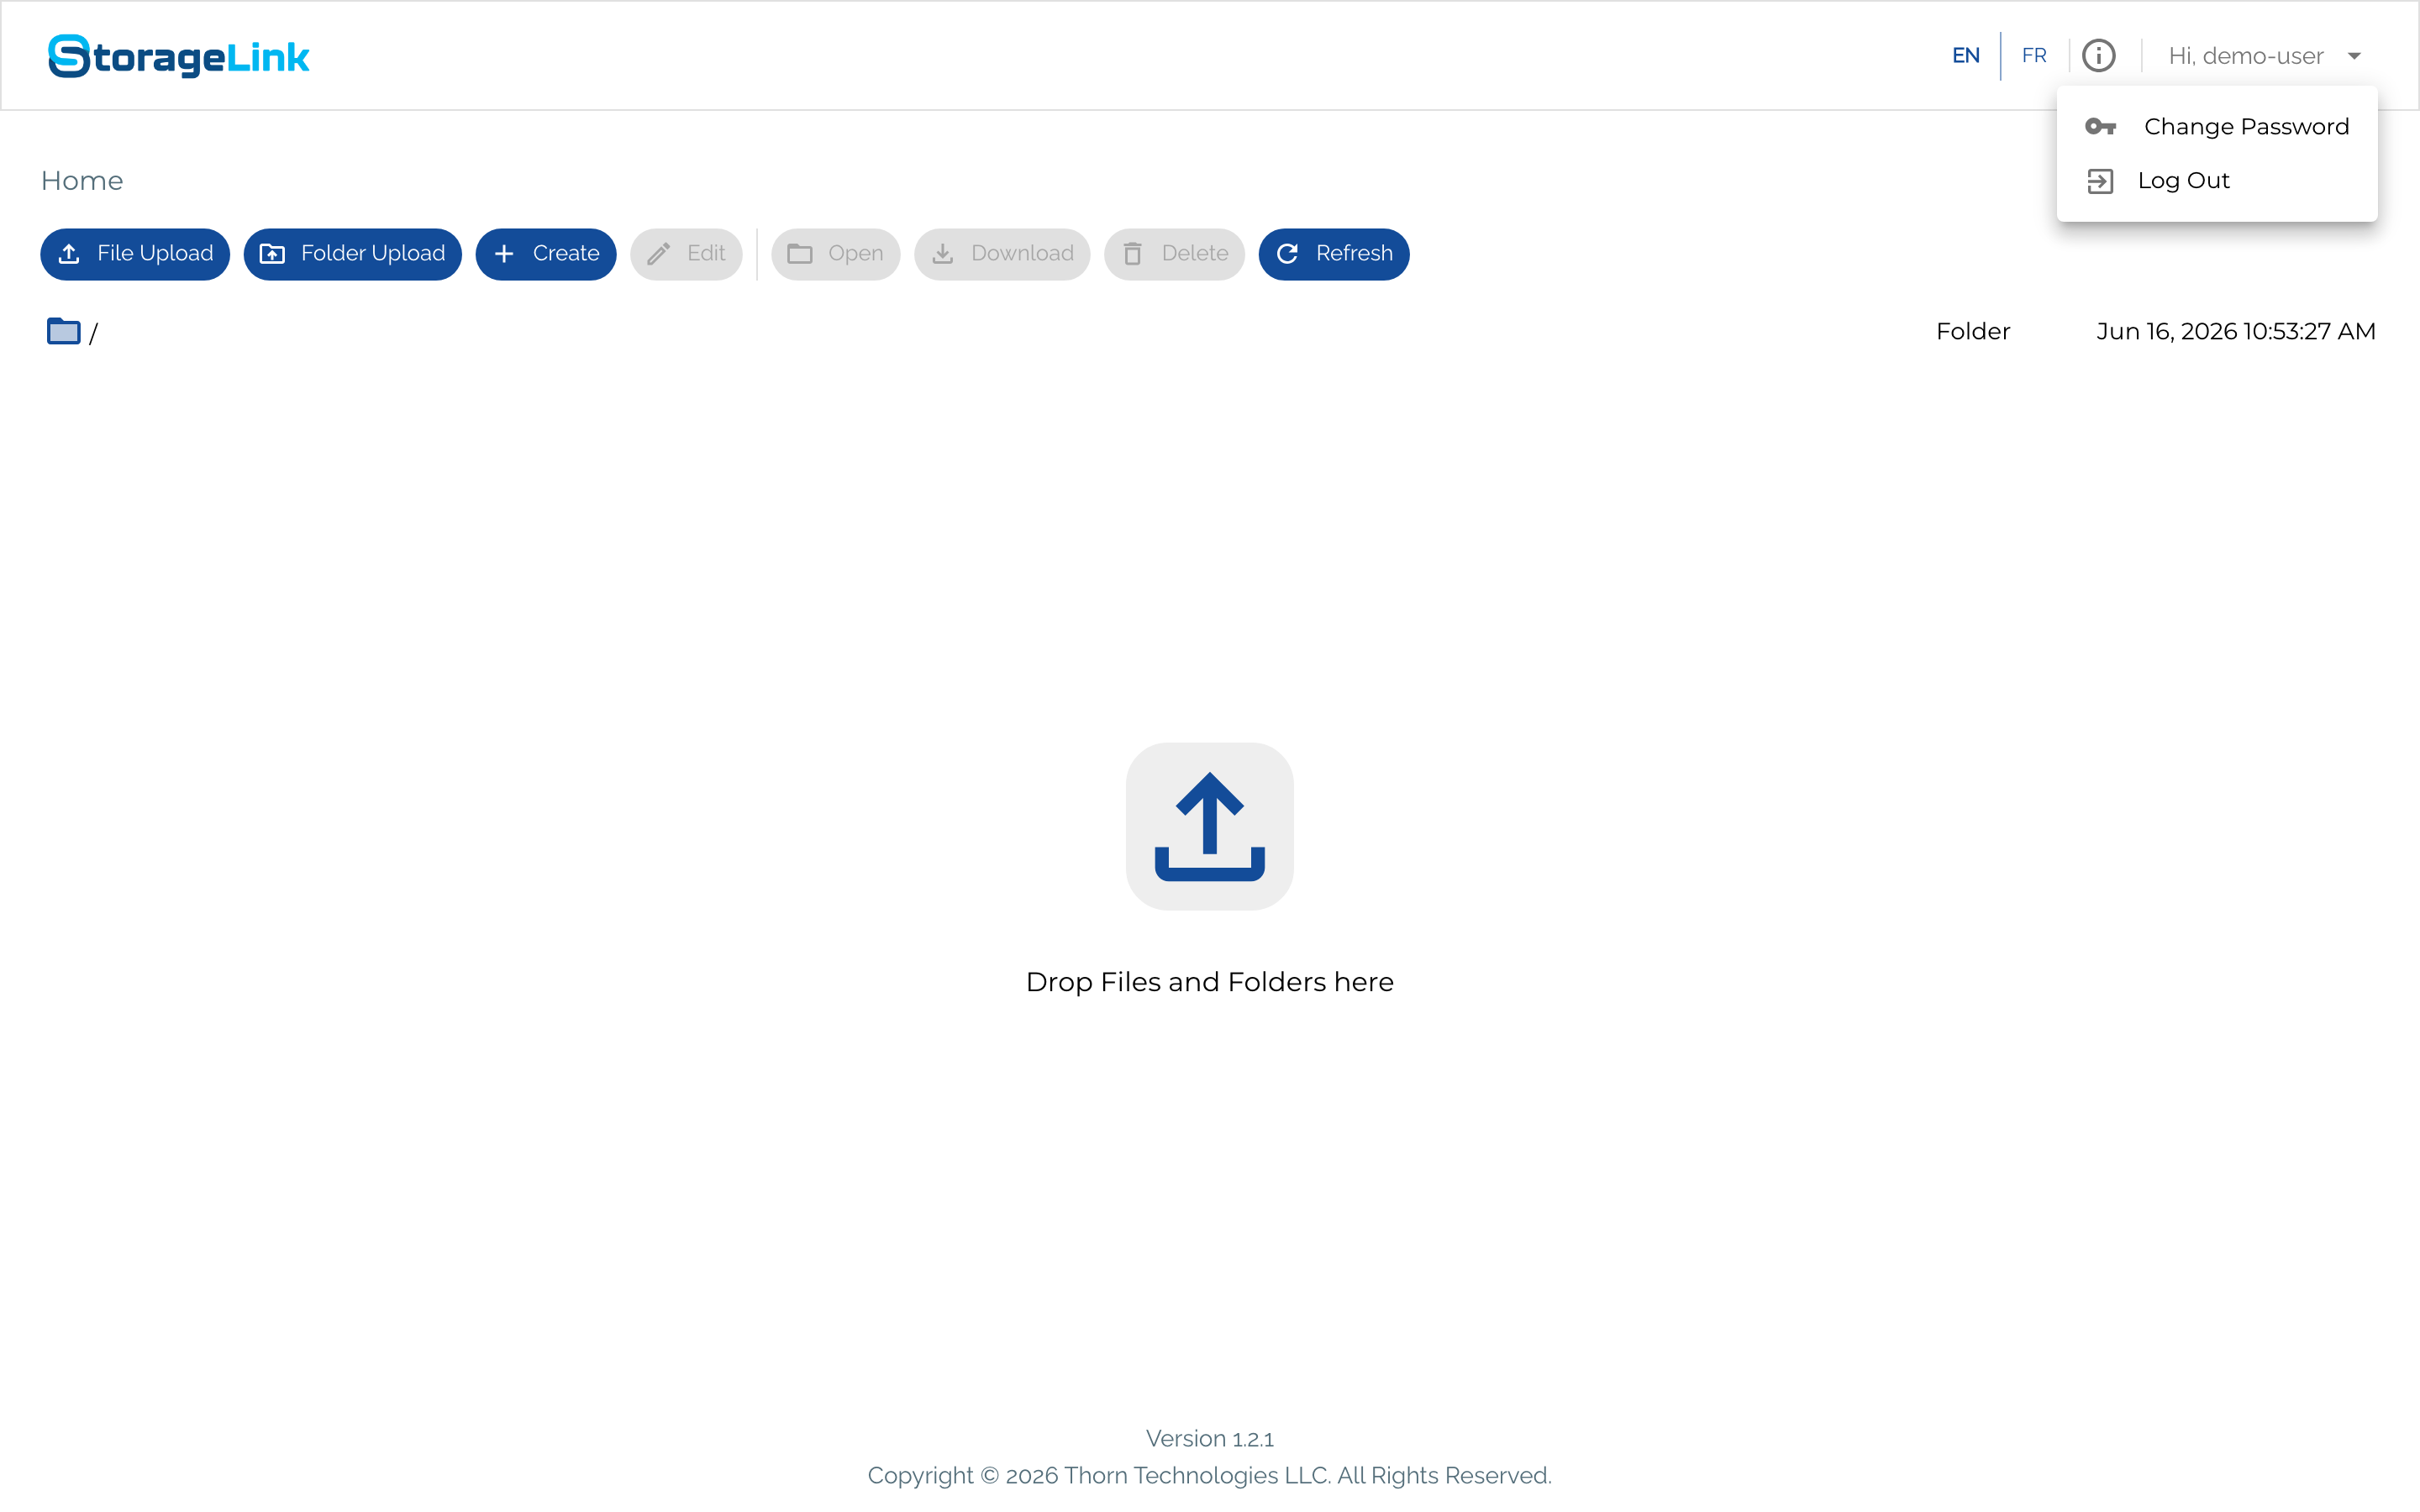
- Change Password — set a new password at any time. The same complexity policy applies.
- Log Out — end your session. You're also signed out automatically after a period of inactivity.
That's it
That's the full everyday workflow. If you run into trouble — uploads not appearing, a rejected password, or a sign-in problem — click Refresh first, then contact your administrator.