HA Upgrade Process
TLDR - Quick Summary
What: Upgrade High Availability deployments
Method 1 (Recommended): Blue-green deployment - new HA stack, import users, DNS cutover
Method 2: Update Instance Template VM image, then Replace VMs in Instance Group
Image Copy:
gcloud compute images create sftpgw-351-marketplace --source-image-project thorn-technologies-public --source-image <image-name>
Overview
This article covers the upgrade process for high-availability (HA) deployments. VM instances are ephemeral, so they can't be upgraded manually. The upgrade has to be performed in a way such that new VMs will also have the new version.
There are two upgrade approaches covered in this article:
- Blue-green deployments
- Updating the VM image on the Instance Template
Blue-green deployments
The cleanest approach for upgrading the HA stack is to perform a blue-green deployment. This involves spinning up a brand new HA stack, importing the users and settings, and cutting over to the new endpoint.
This approach is our official recommendation because it is the cleanest upgrade process (i.e database schema changes between versions). It also gives you the safety of rolling back if there are unforeseen issues.
Spin up a new HA stack
Follow this article for instructions on deploying a new HA stack on Google Cloud.
Note: Make sure that the config.yml file is pointing to the correct version of SFTP Gateway, which can be found in the folder path to the solution.jinja file on GCS.
Import the users and settings
In this section, you will export your users and settings from the existing stack, and import them into the new.
Follow this article for instructions on generating the yaml backup file, and uploading it via the web admin portal.
DNS cutover
After you have tested the new HA stack, you can schedule a DNS cutover during a maintenance window.
The cutover would involve pointing your DNS hostname to the vmExternalIp of the new stack.
Updating the VM image on the Instance Template
The other HA upgrade approach is to point the Instance Template to the VM image of the new version of SFTP Gateway. This way, new incoming VM instances will reflect the new version.
Most customers prefer this method over blue-green deployments, because you don't have to redeploy all of your infrastructure.
Pointing the Instance Template to the new VM image is a little tricky when working within the constraints of the Google Cloud console. So this section will walk you through some preparatory steps to help make the process go smoothly.
Copy the VM image to your Project
As a preparatory step, you will need to copy our Google Cloud Marketplace VM image
to your Project. This is because the Instance Template wizard only lets you see
VM images owned by your Project.
From the Google Cloud console, open the Cloud Shell utility. Then, run the following command:
gcloud compute images create sftpgw-351-marketplace --source-image-project thorn-technologies-public --source-image sftpgw-3-5-1-1715279523 --description "sftpgw-351-marketplace"
Here's an explanation of what's going on:
- Our Google Cloud Marketplace VM image is named
sftpgw-3-5-1-1715279523in our Project namedthorn-technologies-public - Our VM image is publicly accessible, so you have permissions to copy it into your own Project.
- You are making a VM image copy in your own Project, named
sftpgw-351-marketplace
Once the command has completed, you should see the new VM image in the Google Cloud console under Compute Engine > Storage > Images.
Point the Instance Template to the new VM image
The next step is to point the Instance Template to the VM image you just created.
Look for your current HA stack's Instance Group. When you find its associated Instance Template, click on it.
On the Instance Template details page, click Create Similar towards the top of the page.
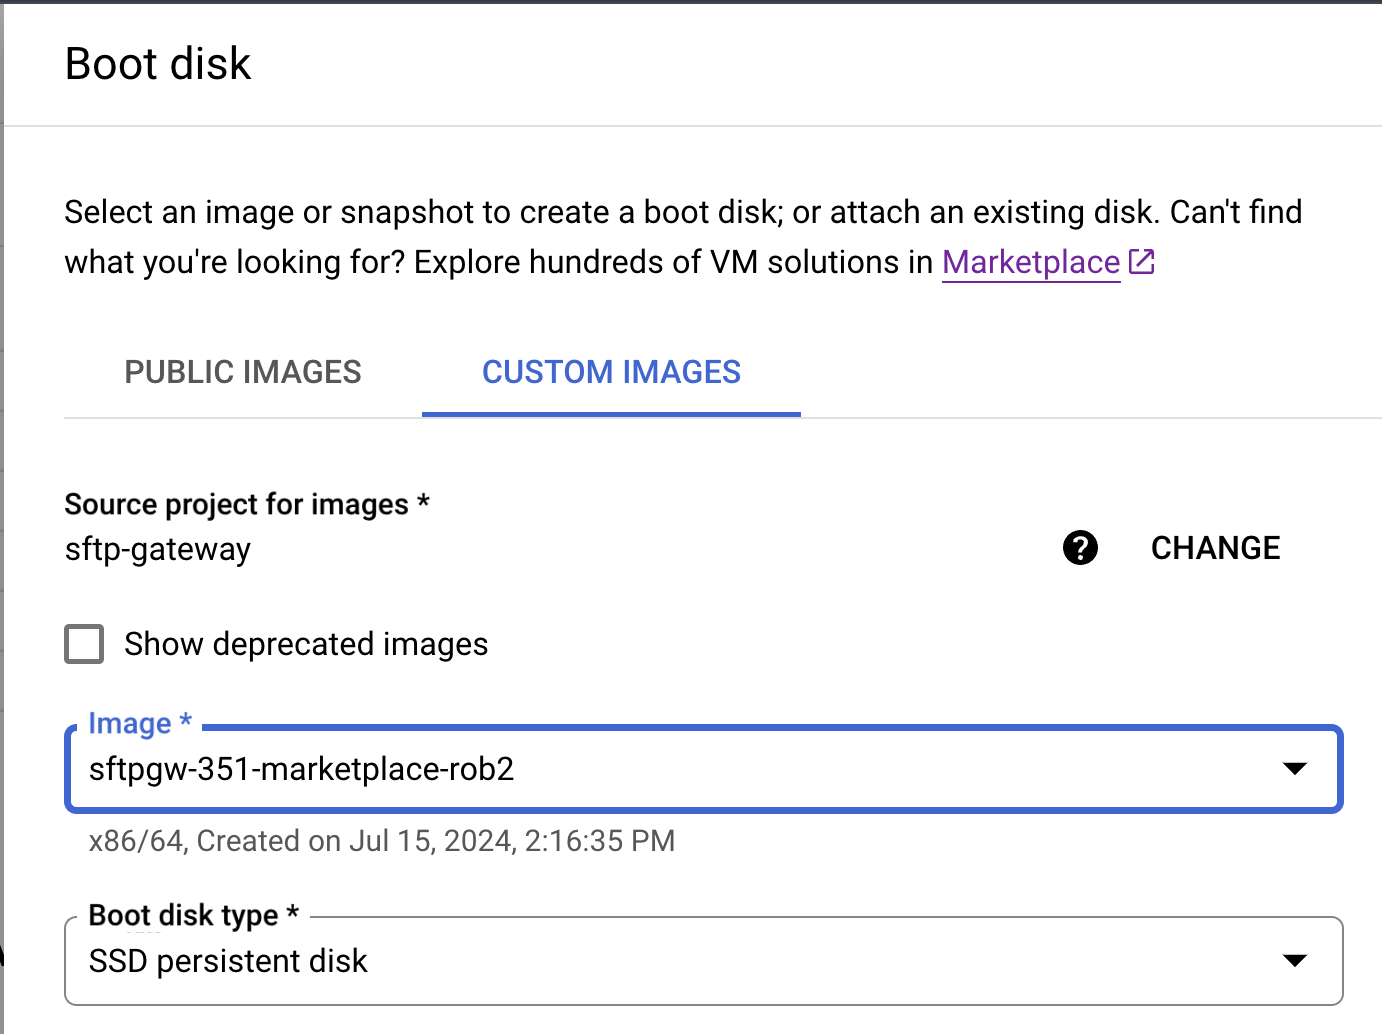
On the Create an Instance Template page, you should see pre-configured settings that match your existing HA stack. Scroll down to the Boot disk section, and click the Change button.
A modal window titled Boot disk will slide out from the right. Select the sub-tab named Custom Images. And in the Image drop-down field, select the VM image you created in the previous section.

When finished, click Select and Create.
Refresh the current instances
With the new Instance Template pointing to the new VM image, you can now refresh the instances in your Instance Group.
Edit the Instance Group of your current HA stack. In the Instance template drop-down, choose the new Instance Template you created in the prior section.
Click Save.
To refresh the instances, click Restart/Replace VMs toward the top of the page.
Under Operation, change the Restart radio button to Replace.
Click Restart VMs.
After some time, the VMs should be replaced with the latest version.