Getting Started with SFTP Gateway 3.x
Introduction
SFTP Gateway is a pre-configured SFTP server that transfers files to Google Cloud Storage. You can read and write live files to Cloud Storage using an SFTP client like FileZilla.
To start, provision SFTP Gateway from the Google Cloud Marketplace. This takes you to the VM creation wizard in the Google console.
Here, you will configure VM settings such as the VM size, and Firewall rules to open up SFTP access while restricting ports reserved for admin use.
Google Marketplace Steps
Navigate to the SFTP Gateway product on the Google marketplace.
You should see the following screen:
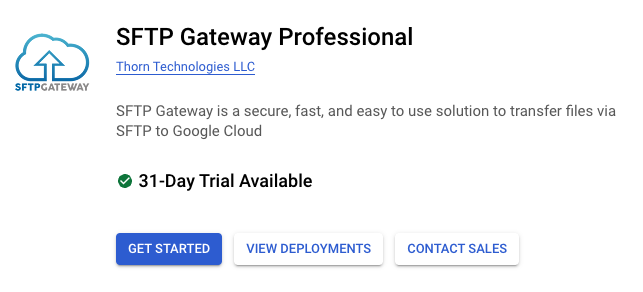
Click GET STARTED, and you will be taken to the Agreements page.
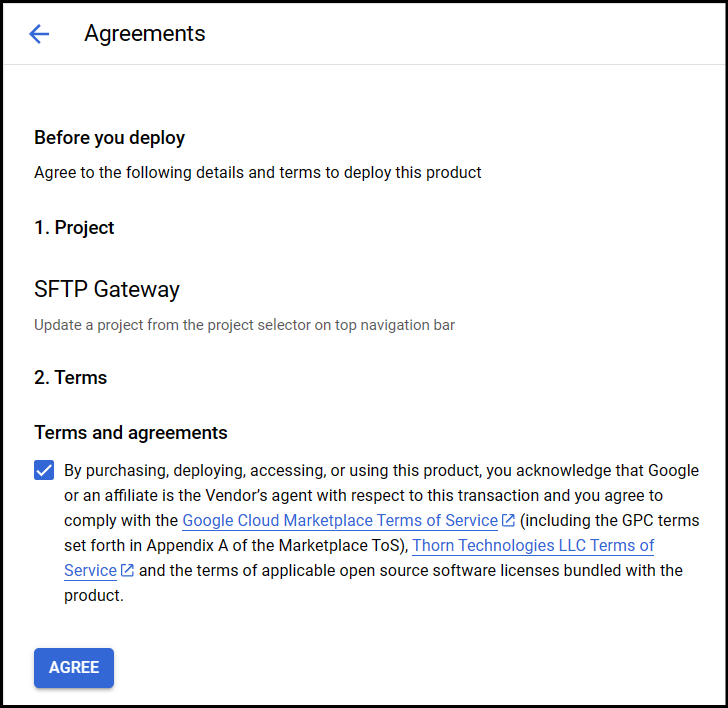
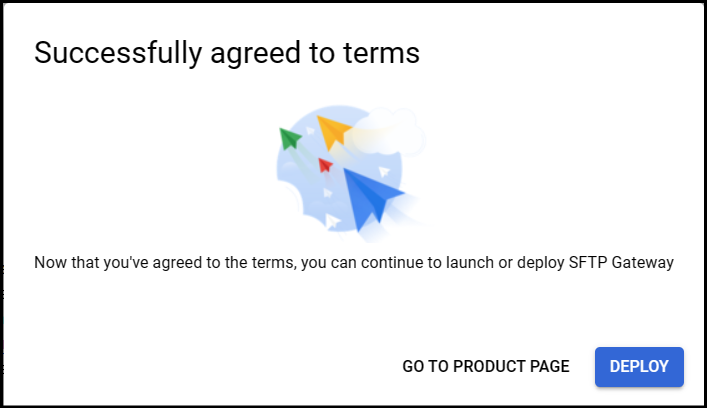
After successfully agreeing to the terms, click Deploy to be brought to the SFTP Gateway deployment page.
On the deployment page, you will configure your SFTP Gateway deployment.
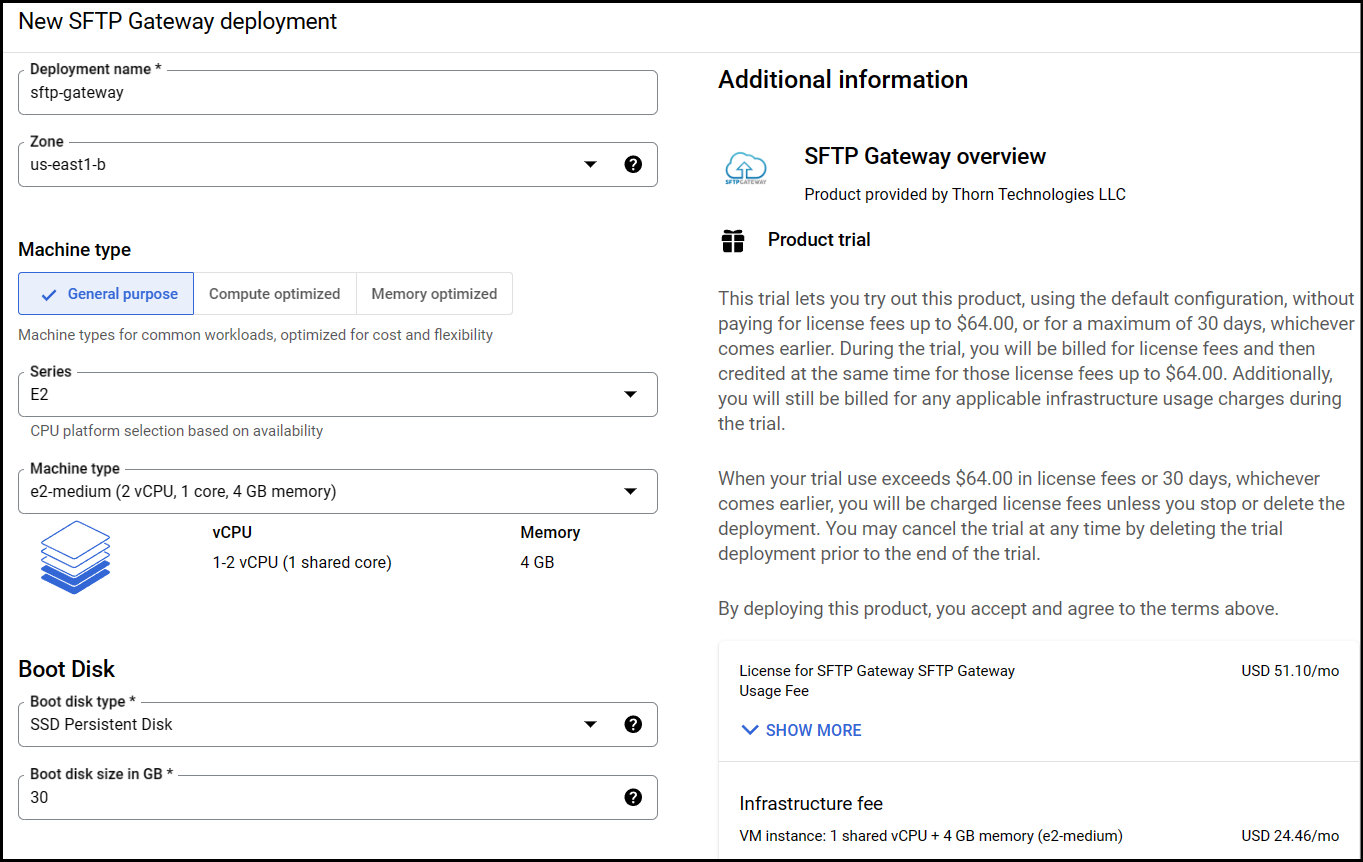
Create a VM
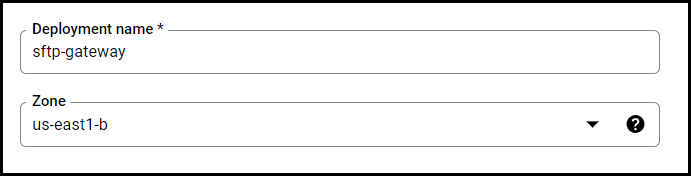
First, create a Deployment name. Since this is Linux, try to use only lowercase letters and hyphens.
Select a Zone in which to deploy your virtual machine.
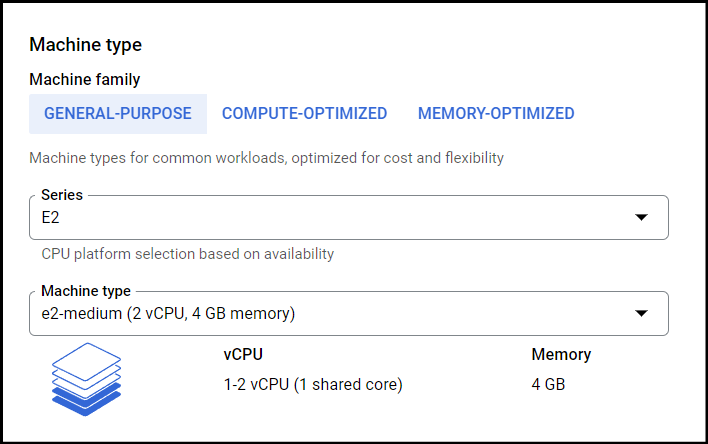
For the Machine type, we recommend a General-Purpose E2 Series machine for testing and evaluation. We recommend at least a size of e2-medium.
Note: Do not use an e2-small, since it does not have adequate CPU.
For production environments with a heavy workload, we recommend using an N2 Series machine such as n2-standard-2.
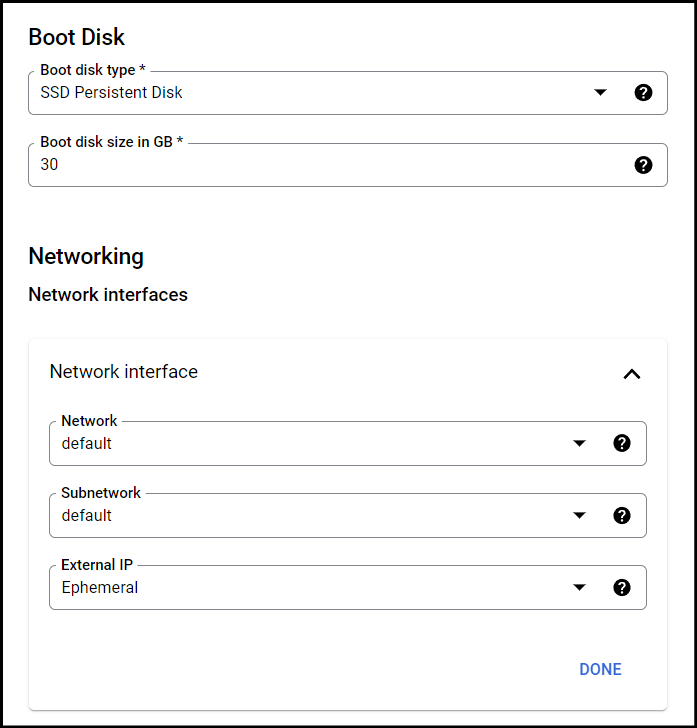
The Boot Disk can be left as default since the disk will only contain the OS and rotated log files.
The Network Interface may also be left as default unless you want to use your own specific network and subnet.
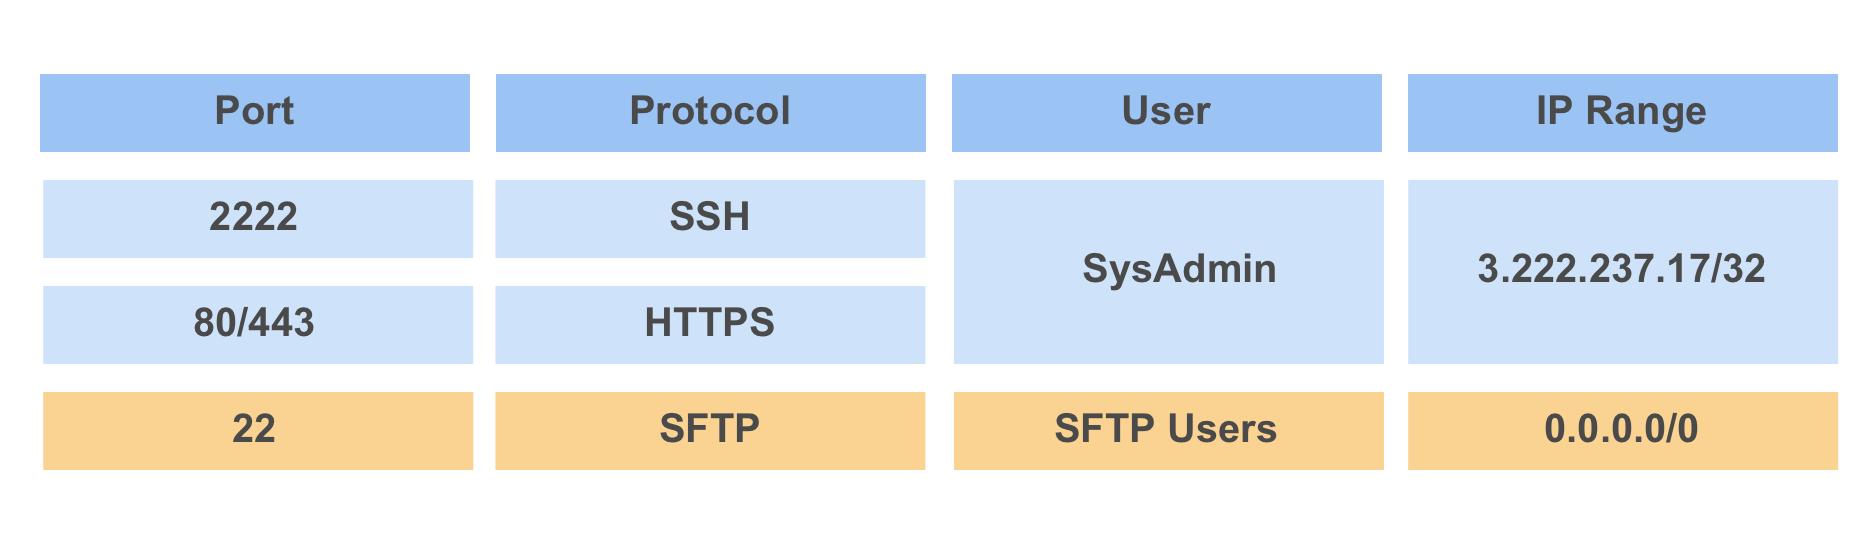
SFTP Gateway exposes the following ports and protocols:
22: SFTP2222: SSH80: HTTP443: HTTPS
Check the box for each rule:

For port 22, paste in 0.0.0.0/0. The SFTP protocol runs on TCP port 22, and for most implementations you would open this port to the world instead of manage the public IP of every SFTP client.
For the remaining ports, paste in your public IP address. To determine your public IP, go to http://checkip.dyndns.org/
The SSH protocol, which has been moved to port 2222, should be restricted to sysadmins.
Note: Remember to specify the port number -p 2222
when connecting via SSH.
Web ports 80 and 443 are used for the Web Admin Portal.
It's important to restrict these ports to sysadmins as well, because the Web Admin Portal
lets you create an admin account on first launch.
Here's a table of the various ports and protocols.
After you have configured everything on the SFTP Gateway deployment page, check the box at the bottom for accepting the GCP Marketplace and Thorn Technologies Terms of Service.
Finally, click Deploy.
Access the Admin Interface
To access the SFTP Gateway admin interface, go to the Site address once your deployment has finished.

The next step is to go through the First Launch Experience to create your first web admin account.
Video Example
For more information, we have a video that walks through setting up SFTP Gateway on Google Cloud.