Using your Own S3 Bucket
Overview
For the Single User Plan, files are saved in an S3 bucket in our environment by default. However, you may want to use your own specific S3 bucket.
To accomplish this, you will need to grant us permission to your S3 bucket. This article walks you through this process.
Bucket Policy
In this section, you will configure a Bucket policy that is tailored down to a single S3 bucket. This will allow our SFTP Gateway service to read and write to your bucket.
Navigate to the S3 service.
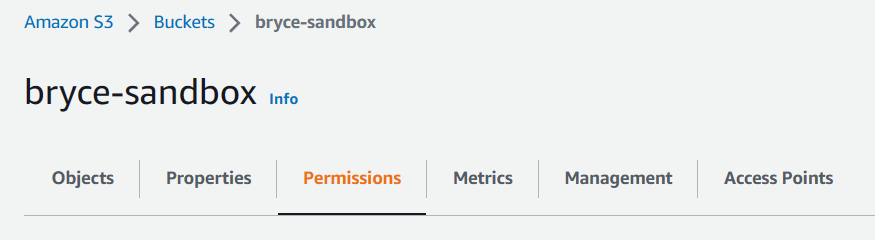
Find & click on the bucket you would like to connect to.
Click on the Permissions tab.
Scroll down to the Bucket policy section and click Edit.
Paste in the following bucket policy:
{
    "Version": "2012-10-17",
    "Id": "CrossAccountAccess",
    "Statement": [
        {
            "Effect": "Allow",
            "Principal": {
                "AWS": "arn:aws:iam::967560325825:role/SFTPGatewayS3Access"
            },
            "Action": [
                "s3:ListBucket",
                "s3:GetBucketLocation"
            ],
            "Resource": "arn:aws:s3:::your-bucket-name"
        },
        {
            "Effect": "Allow",
            "Principal": {
                "AWS": "arn:aws:iam::967560325825:role/SFTPGatewayS3Access"
            },
            "Action": [
                "s3:*"
            ],
            "Resource": "arn:aws:s3:::your-bucket-name/*"
        }
    ]
}
Remember to replace your-bucket-name with the value of your actual bucket name.
Note: Make this change in two locations.
Now that we have access to your S3 bucket via the bucket policy, you will need to send your information to support so we can make the proper changes.
Sending your Information to Support
To configure the connection to your custom bucket, we will need a few pieces of information such as:
- The name of your SFTP User
- The name of your S3 bucket
- The region your S3 bucket is located
With this information, we will be able to create a Cloud Connection pointing towards your S3 bucket and configure your SFTP user to use this bucket.
This way, when you connect to the server, you will see your own files and folders located in your S3 bucket.
So, feel free to send us a message at support@thorntech.com that might look something like this:
Hello Support,

I would like my SFTP user to connect to our own S3 Bucket.

Here is the required information:

SFTP User name:      bryce-wagner
Bucket Name:         my-bucket
Bucket Region:       us-east-1

Please let us know when our SFTP user has been updated.

Thanks,
Bryce
Note: Make sure to change the required information to match your own values.