Hardening servers with Ubuntu Pro
TLDR - Quick Summary
What: Harden SFTP Gateway v3.7.3 to CIS Level 1/2 using Ubuntu Pro
Setup:
sudo pro attach <license>>sudo pro enable usg>sudo apt install usgHarden:
sudo usg fix cis_level1_server(orcis_level2_server), then reboot
Overview
This article walks you through hardening SFTP Gateway Professional version 3.7.3 with CIS Level 1 and 2.
The Center for Internet Security (CIS) has hardening guidelines for servers. Level 1 provides a baseline of security and includes settings that are less invasive, while Level 2 provides additional security, but with a higher chance of breaking the functionality of the server.
CIS Level 1 and 2 hardening is not built into SFTP Gateway. Instead, you can utilize Ubuntu Pro to achieve this.
To upgrade to Ubuntu Pro, there is no need to launch a new Ubuntu Pro VM, nor is there a special SFTP Gateway version that comes with Ubuntu Pro. Rather, an existing Ubuntu VM can be converted to Ubuntu Pro. To do this, you can make use of the serial console within the Azure portal.
Navigating the Azure Portal
Open up the Azure Portal and navigate to your VM running SFTP Gateway.
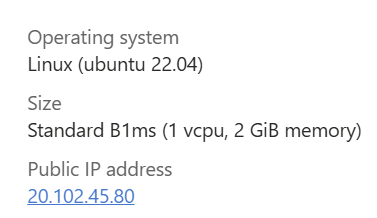
You can find your VM's public IP address here, as it will be needed later.
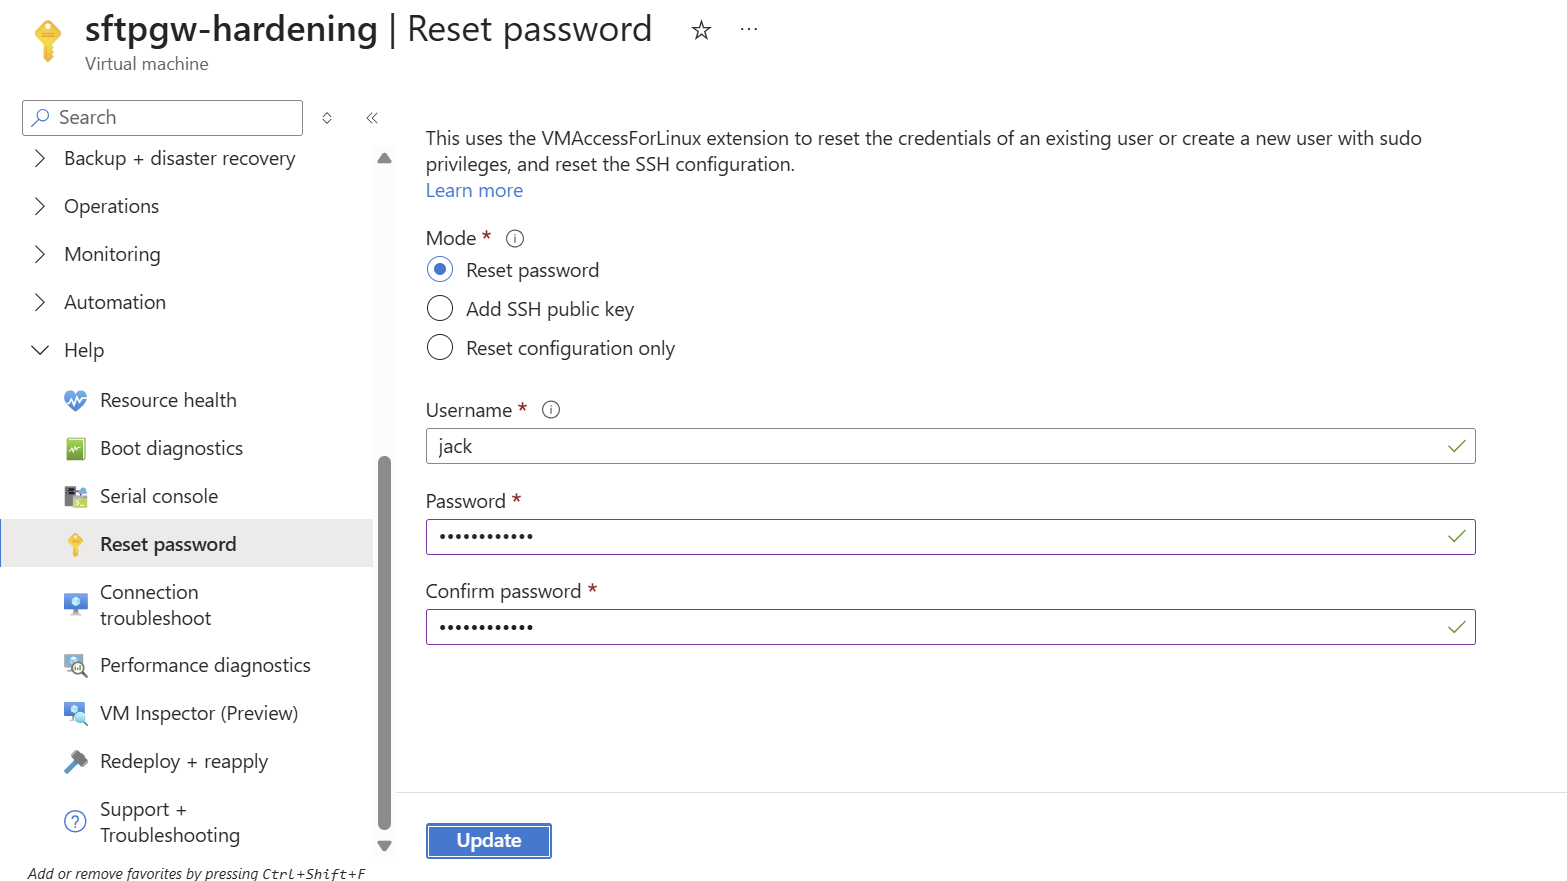
Next, this process requires the user to have a password set. To do this, navigate to Reset password under Help and set your password.
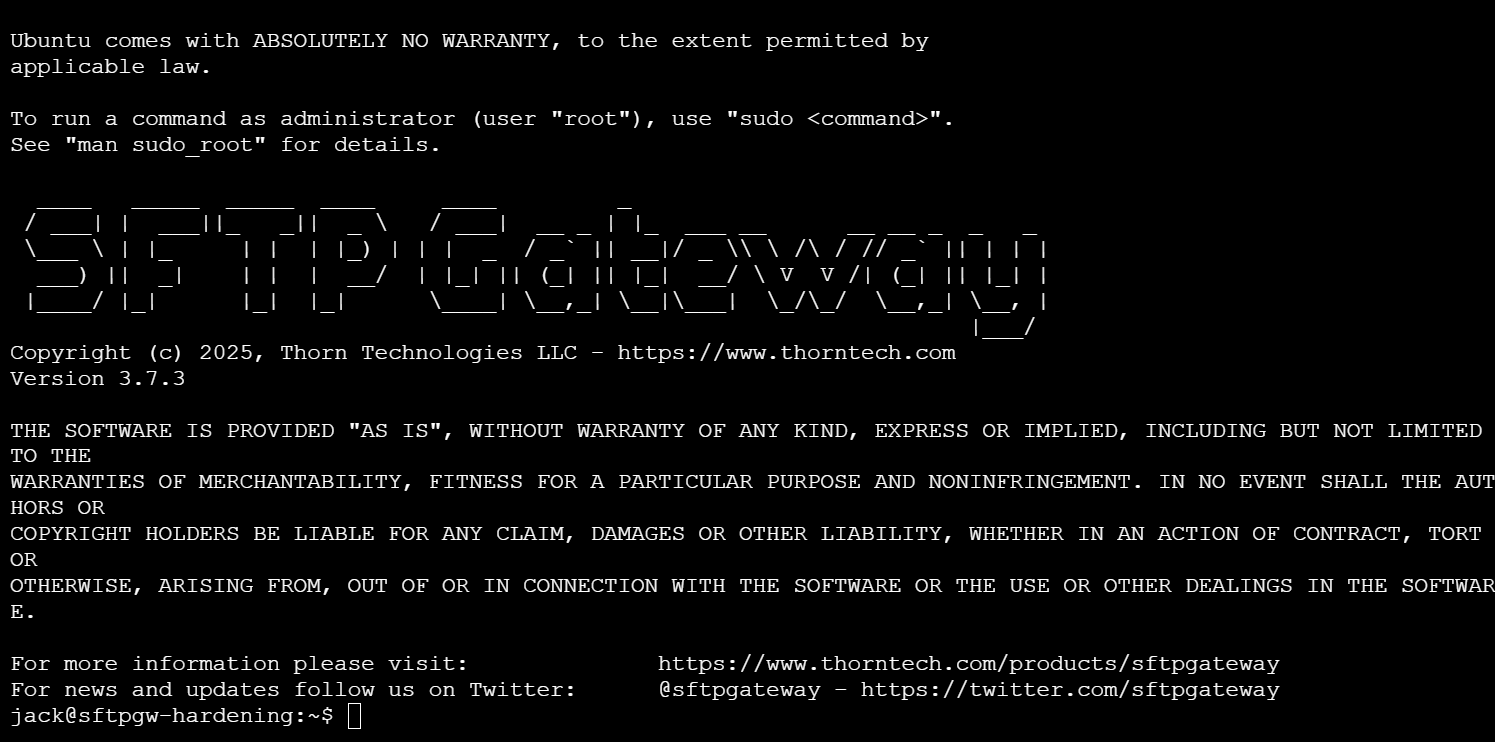
Navigate to Serial console (located right above Reset password). When prompted, enter your Azure username and password to access SFTP Gateway.
Upgrading the VM to Ubuntu Pro
To convert your existing VM to Ubuntu, enter the following command:
sudo pro attach YOUR_UBUNTU_PRO_LICENSE
Note: Be aware that you may be prompted to enter your password after entering a "sudo" command.
To see the status of Ubuntu Pro services, use this command:
pro status
To remove your Pro license from the VM, use this command:
sudo pro detach
Running a CIS Level 1 Audit
Before proceeding, you need to enable usg. This service provides you with the necessary tools to harden and audit your VM.
Enable this service:
sudo pro enable usg
Install this service:
sudo apt install usg
Now, when you run pro status, you should see that usg is enabled.

Important: The audit report contains sensitive information regarding the VM's security weaknesses. Before you open the report in your browser, it is highly advised that you lock down TCP port 80 to your own IP. You can do so using the following commands:
sudo ufw deny 80
sudo ufw allow from YOUR_PRIVATE_IP to any port 80
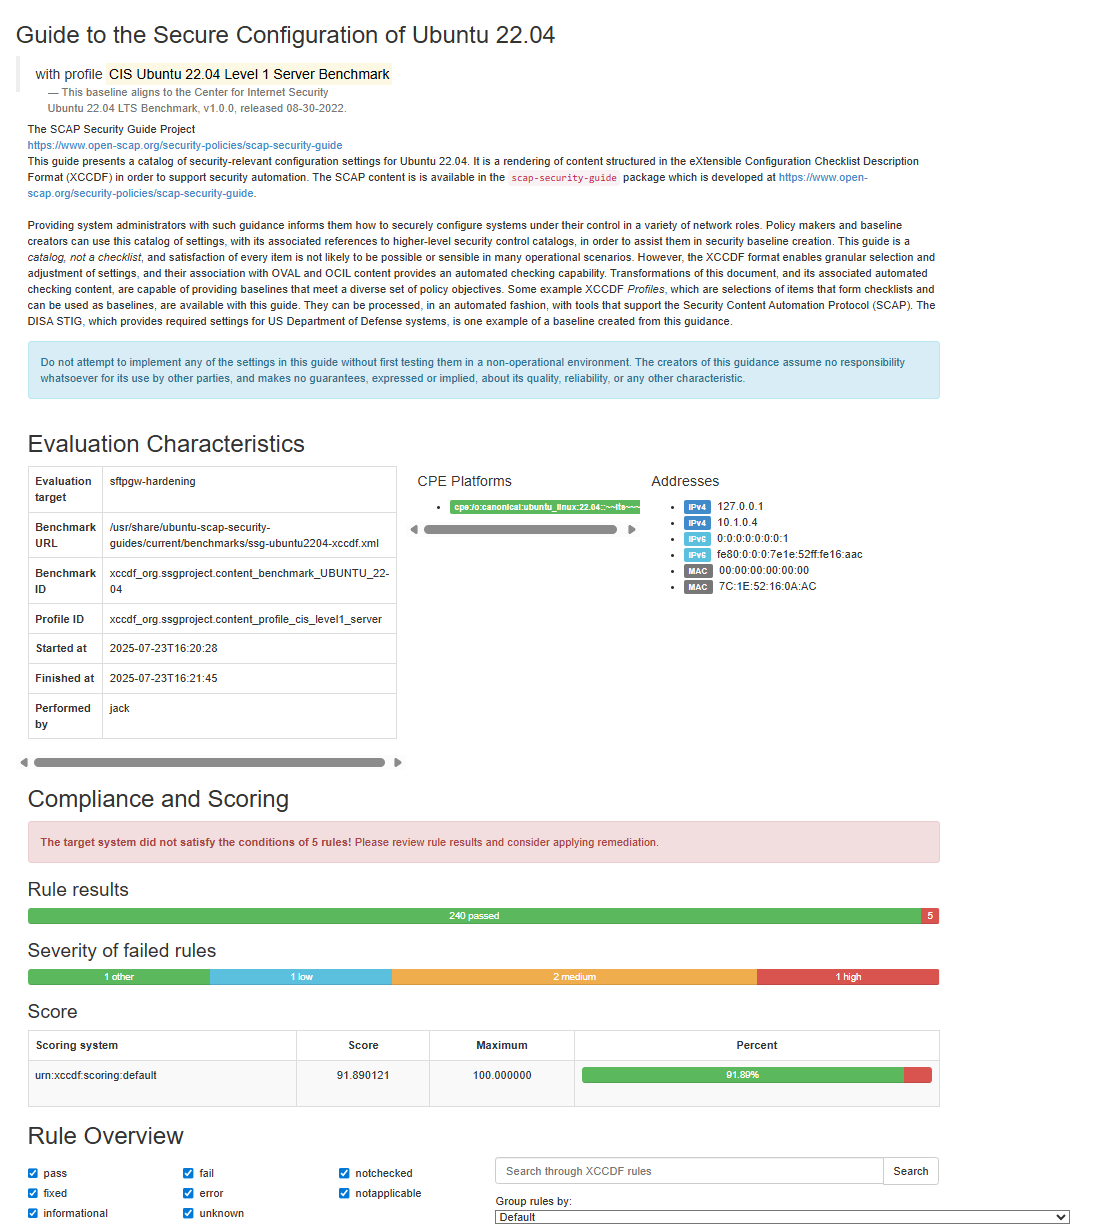
Now, you should be able to run an audit of your VM. This audit will generate a report detailing all of the guidelines which the server passes and fails. To run this audit, run the following command:
sudo usg audit cis_level1_server
After the audit runs, you will be presented with files which you will be able to view in your browser.

With port 80 locked down, you can now safely access the report. The following commands move the report to the appropriate location and apply the correct permissions:
sudo mkdir -p /usr/share/nginx/ui-landing/
sudo mv /var/lib/usg/YOUR_REPORT /usr/share/nginx/ui-landing/
sudo chown -R www-data:www-data /usr/share/nginx/
sudo chmod -R 755 /usr/share/nginx/
sudo chmod 644 /usr/share/nginx/ui-landing/YOUR_REPORT.html
Now, you can access your report with the following address:
http://YOUR_VM_PUBLIC_ID/YOUR_REPORT
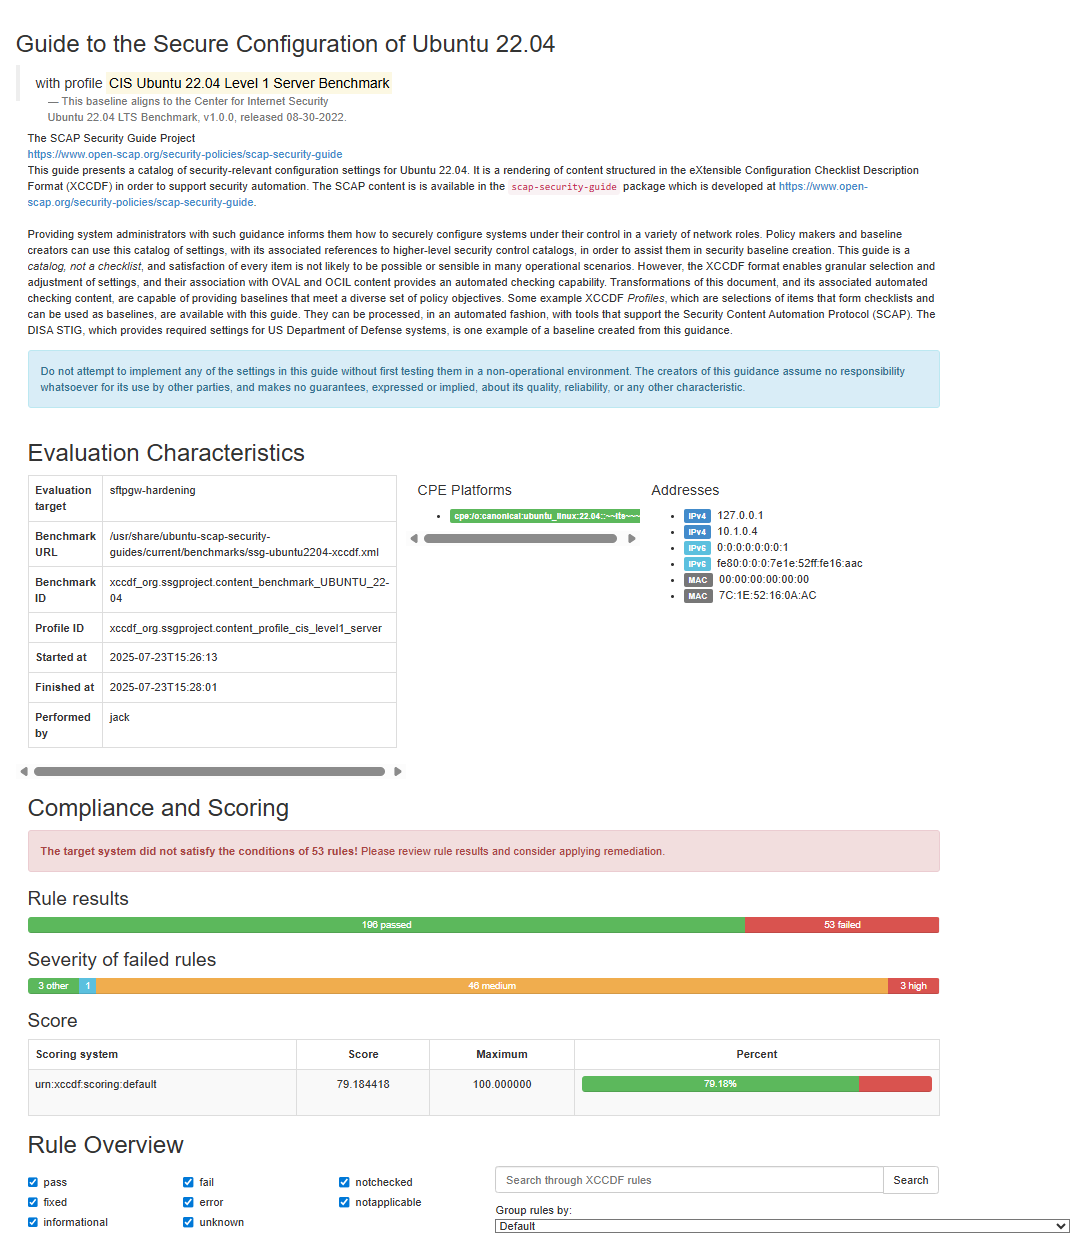
As you can see, the VM fails about 20% of the CIS Level 1 guidelines. To reduce this failure rate, you need to harden the VM.
Hardening the VM to CIS Level 1
To harden the VM to CIS Level 1, enter the following command:
sudo usg fix cis_level1_server
This process will take some time. After you get the command prompt back, you will need to restart the VM in order for some configuration changes to take effect. Enter the following command to restart, and then log back into the VM.
sudo init 6
Once you are back in the server, repeat the audit process as described above. The proportion of failed guidelines should be far less than before.
Hardening the VM to CIS Level 2
The process of auditing and hardening the VM to CIS Level 2 is nearly identical to that of Level 1, save for a few altered commands.
To audit the server according to CIS Level 2 guidelines, use the following command:
sudo usg audit cis_level2_server
To harden the VM to CIS Level 2, use the following command:
sudo usg fix cis_level2_server
By replacing the Level 1 specific commands with these commands, you can follow the rest of the Level 1 process to harden your VM to meet CIS Level 2 guidelines.