Configure Azure Load Balancer
TLDR - Quick Summary
Problem: HA template has low Allocated Outbound Ports causing connection timeouts
Fix: Load Balancer > Outbound Rules > Increase Allocated Outbound Ports (1024-4096)
Alternative: Deploy updated HA template with correct port allocation
Overview
Previously, our High Availability (HA) template for Azure was setting the Allocated Outbound Ports per instance to a value that is too low. This can cause connectivity issues, such as connection timeouts. This guide explains the symptoms of this issue, how to manually adjust the allocated outbound ports in the Azure portal, and how to switch to our updated template.
Symptoms of Low Allocated Outbound Ports
When the Allocated Outbound Ports setting is too low, you may experience the following issues:
- Connection timeouts when trying to reach external services.
- Inconsistent or failed outbound connections.
- Increased latency in network requests.
- Logs showing errors related to port exhaustion.
This happens because the Azure Load Balancer uses SNAT (Source Network Address Translation) for outbound connections, and each instance has a limited number of ports available. If this number is too low, connections may be dropped.
How to Manually Set Allocated Outbound Ports in Azure Portal
If you are experiencing these issues, follow these steps to manually adjust the Allocated Outbound Ports setting:
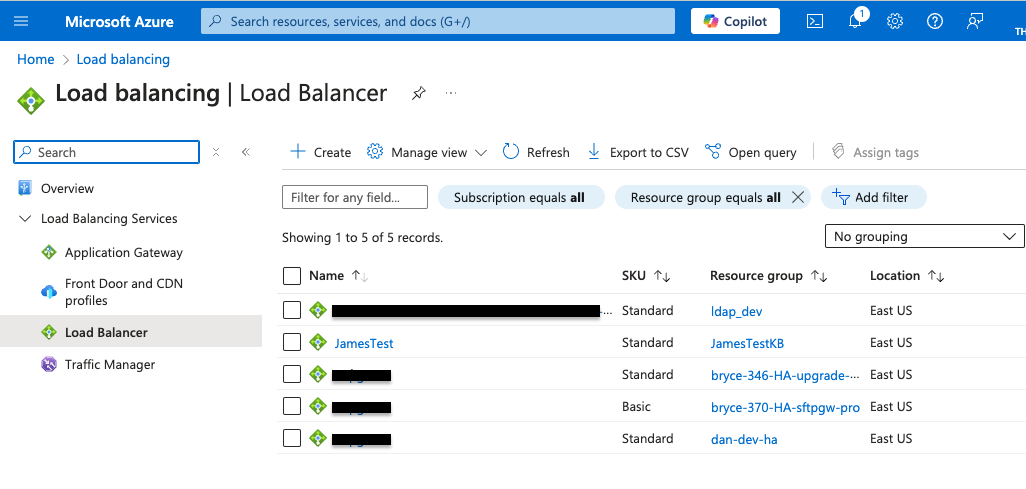
- Navigate to the Load Balancer:
- Go to the Azure Portal.
- Search for and select Load Balancers.
- Click on your Load Balancer.
- Modify Outbound Rules:
- In the left-hand menu, click Outbound Rules.
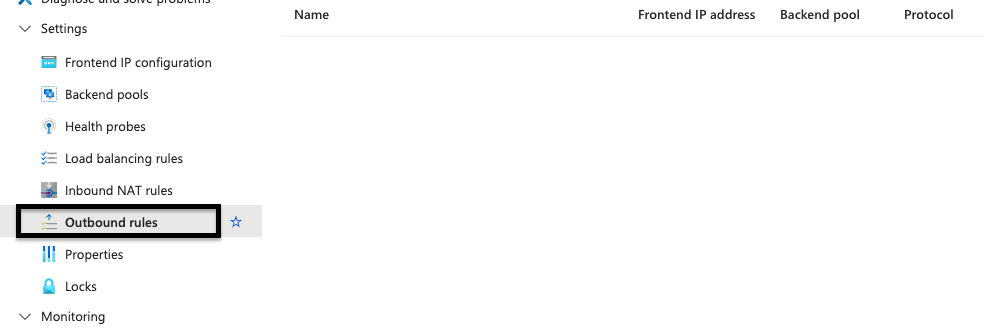
- Select the outbound rule that applies to your instances.
- Under Outbound Port Allocation, increase the Allocated Outbound Ports value to an appropriate number (e.g., 1024-4096, depending on your traffic needs).
- Click Save to apply the changes.
- Monitor the Results:
- Check your application logs for reduced timeout errors.
- If issues persist, consider increasing the allocated ports further or contacting support.
Switching to the Updated HA Template
We have released an updated HA template that sets a more appropriate Allocated Outbound Ports value by default. To switch to this updated template:
- Obtain the Latest HA Template:
- Download the updated template from our HA Deployment Guide.
- Deploy the Updated HA Template:
- In the Azure Portal, navigate to Deploy a Custom Template.
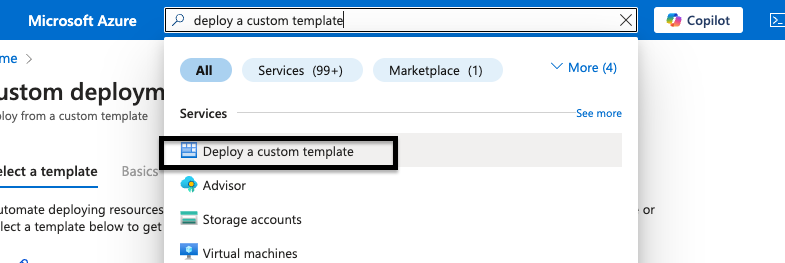
- Upload the new template file.
- Review the settings and ensure your existing configurations are preserved.
- Click Deploy to apply the changes.
- Verify the Configuration:
- After deployment, check the Outbound Rules in your Load Balancer to confirm the correct port allocation.
- Test your application to ensure outbound connections are stable.
Conclusion
Setting an appropriate Allocated Outbound Ports value is critical for maintaining stable outbound connections in Azure. If you experience connection timeouts, follow the steps outlined above to manually adjust the setting or deploy our updated HA template for a long-term fix. For further assistance, contact our support team or refer to Azure Load Balancer Documentation.