Backup and Recovery
TLDR - Quick Summary
What: Backup and disaster recovery process for SFTP Gateway
Backup: Export users/settings from Settings > Export; set IP to static; backup
/etc/nginx/SSL certsRecovery: Deploy new VM, import YAML backup, transfer static IP, re-import SSL certs
Overview
This article outlines a backup and recovery process that you can use for disaster recovery.
It's important that you test this scenario yourself, so you know what to expect beforehand.
Backup
There are a few steps you can perform now to prepare for a server outage.
Export your users and settings
Go to the web admin portal for SFTP Gateway.
On the Settings page, click the Export button.

This will download to your local machine a yaml backup artifact containing your SFTP users and settings. It also includes your server host keys.
Note: You may want to export this yaml file on a regular basis.
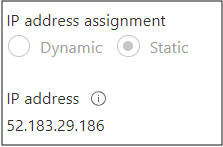
Set the public IP address to static
To keep the original IP address, click on the Public IP address under the overview for the VM.

Change the IP address assignment to static.

Now your IP will remain the same, and you can later transfer it to a recovery VM.
Back up SSL certificates
If you installed a commercial SSL certificate, you may want to back up these files which are located here:
/etc/nginx/
Make sure you get the Nginx conf file (e.g. website.conf) as well as the SSL certificate and key that it points to.
Recovery
Deploy a new instance of SFTP Gateway, and this will be the recovery VM.
Then, perform the following steps.
Import your users and settings
Find the yaml backup artifact, and import it into the Settings page.

You should see some log output on the screen, as users are imported.
Transplant the IP Address
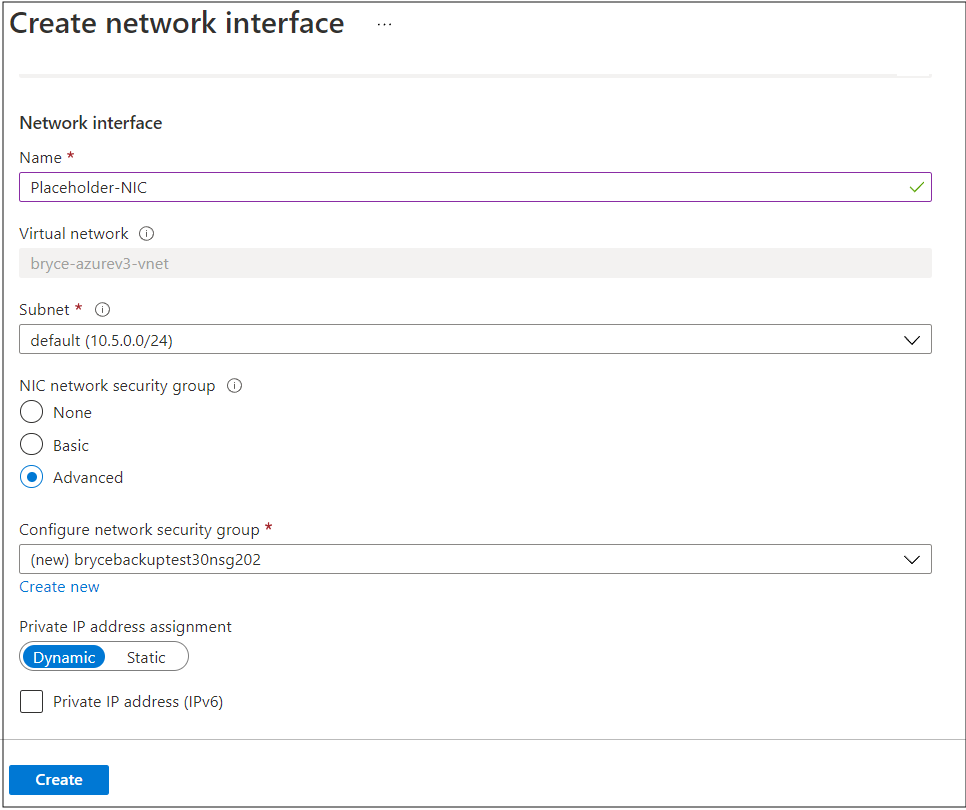
In order to move the IP address, you will need to create a placeholder NIC on the Recovery instance.
Stop both the Original VM, and the Recovery VM.
Create a placeholder NIC on the Recovery VM.
Detach the static IP address from the Original VM, and attach it to the Recovery VM.

Your IP address on the recovery VM will now be the same as your original VM.
Import SSL certificate
If you exported a commercial SSL certificate, remember to re-import it.
To apply your Nginx changes, restart the service:
sudo su
nginx -t && service nginx restart